How to Repair a Maytag Dryer Timer
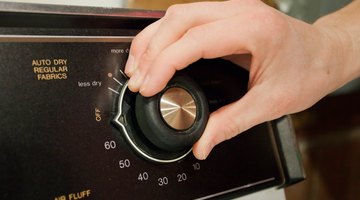
The timer on a dryer regulates the length of time the power is connected to each component in the dryer. If the dryer does not seem to be advancing cycles, the timer could be at fault. The process of knowing how to repair a Maytag dryer timer involves troubleshooting it first before replacing it.
Remove the Console


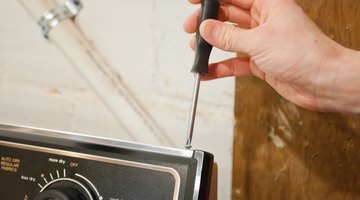
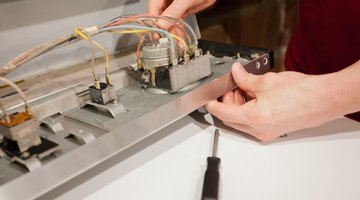
Disconnect the power to the Maytag dryer by unplugging it from the wall outlet. There are two screws located in the top of the control panel that secure the cover to the assembly. Use a screwdriver to remove the screws, and then flip the control panel face cover forward. There are two tabs that lock into place in the top panel of the dryer. Gently remove the tabs from the dryer top to release the control panel cover.
Test the Timer

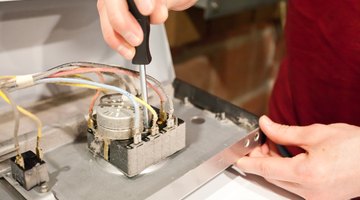
There will be up to four wires connected to the Maytag dryer timer. The two larger wires are the ones that power the timer. Pull one of the larger wires off of the timer terminal using a pair of needle nose pliers. Grab the wire at the lead to remove it, and do not pull on the actual wire.
Lift the control panel up so that you can turn the timer to “normal dry.” Set your volt-ohm meter to RX1, and touch one probe to the empty terminal and another probe to the power terminal that is still connected. You should have a reading of zero come back on the volt-ohm meter. If you are getting any other reading, the timer motor is bad and needs to be replaced.
Replace the Timer

Remove the timer knob from the outside of the control panel. There are two screws that mount the timer motor to the inside of the control panel. Use a screwdriver to remove the screws and release the timer from the control panel. Use a piece of masking tape and label the wires connected to the timer. This will make it easier to determine where the wires go when installing the new timer. Disconnect the wires from the timer terminals, and take the timer with you to purchase a replacement.
Install the new Maytag dryer timer into the inside of the control panel. Reconnect the wires to the timer, and replace the knob on the outside of the control panel. Lock the lower tabs of the control panel into the top panel of the dryer. Position the top of the control panel back into place and secure it with the retaining screws. Plug your Maytag dryer back into the wall outlet.
Check out this related video from Homesteady on Youtube.
References
Writer Bio
Kenneth Crawford is a freelance writer with more than 10 years of experience. His work has appeared in both print and online publications, including "The American Chronicle." Crawford holds an associate degree in business administration from Commonwealth College.
Photo Credits
- Laura Beth Drilling/Demand Media
- Laura Beth Drilling/Demand Media
- Laura Beth Drilling/Demand Media
- Laura Beth Drilling/Demand Media
More Articles


