
How to Install Laminate Floor Covering on Curved Surfaces With Transitions

Transitioning from laminate floating floors to another surface isn't always difficult -- until you throw a curve into the mix. To put a transition molding around a curve, you'll need a flexible molding or a custom-made curved transition piece. A handful of companies specialize in either flexible or custom-made transition pieces, so you'll have to choose which route to go. The custom-made pieces are more expensive and can quickly tear through a flooring budget. Cutting the curves in the laminate isn't difficult with a jigsaw.
Step 1
Measure and mark the required distance for your desired trim with a pencil. Transition moldings have a required distance between the two flooring surfaces for the molding to sit in. Depending on the flooring type, this will vary and will be included in the manufacturer's detailed instructions.
Step 2
Install the laminate flooring up to the mark per the manufacturer's instructions.
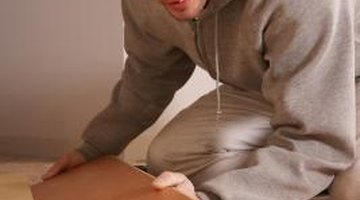
Step 3
Lay out the first plank that butts up to the curve without installing it.
Step 4
Trace the curve that hits the plank onto a piece of paper to make a template.
Step 5
Trace the template on the back of the plank with a pencil, ensuring the template is in the correct position for the plank.
Step 6
Cut the curve with a jigsaw and install the plank to the rest of the floor.
Step 7
Continue cutting the planks as needed as you come to them during your installation.
Step 8
Apply a medium serpentine bead of construction adhesive to the back or bottom of the transition piece.
Step 9
Press the transition molding into place.
Step 10
Nail the transition piece with a nailer in the spacing increments recommended by the manufacturer.
Step 11
Cover the nail holes with putty and finish by coloring the putty with a matching touch-up marker.
Writer Bio
With a professional background in gardening, landscapes, pests and natural ecosystems, Jasey Kelly has been sharing her knowledge through writing since 2009 and has served as an expert writer in these fields. Kelly's background also includes childcare, and animal rescue and care.
Photo Credits
- Jupiterimages/Photos.com/Getty Images
More Articles