


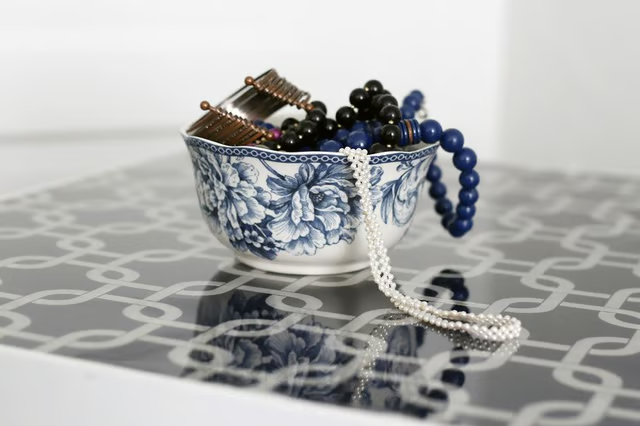
Use an epoxy to create a new table from an old one or just to dress up a store bought table. Add embellishments to make the table fit into the décor of your home.
Things You Will Need
-
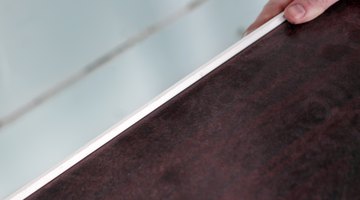
Buy a table that has lips around the edges to make an acrylic top or else the epoxy will drip off the sides of the table when there is nothing to keep it in place.
-
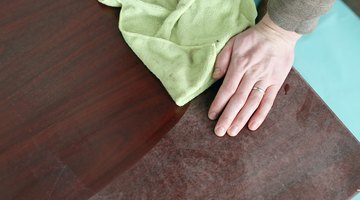
Clean the table with a rag and warm water with a mild soap. Allow the table to air dry completely before the next step.
-
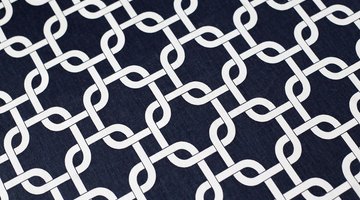
Paint the tabletop with whatever color you desire. Paint shapes, swirls, names or any other designs you like. Allow the paint to dry for four hours before applying the epoxy.
-
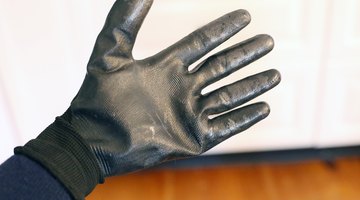
Wear rubber gloves when working with the epoxy.
-
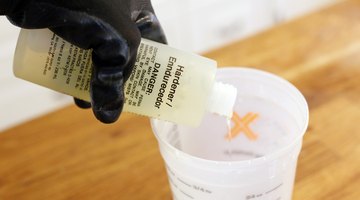
Mix the two parts of the epoxy. Read the manufacturer’s directions for their preferred process. Mix 1 part of the resin and at least 2 parts of the hardener. Add a little more hardener to ensure your acrylic will harden properly. Stir the mixture well.
-
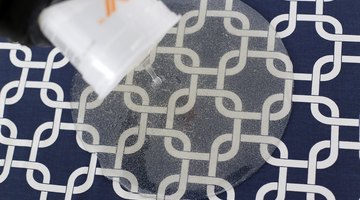
Pour the epoxy in the middle of the table. Spread it around to cover the entire tabletop with the plastic scraper. Make sure to get into all the corners and cover the top completely. Use a little more of the epoxy mixture if necessary to make a ¼-inch layer.
-
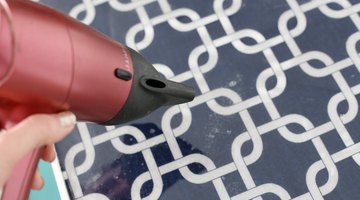
Set a hair dryer to high heat and turn on. Blow the hot air over the fresh epoxy to release all the air bubbles. Work about 2 inches from the surface of the epoxy.
-
Allow the epoxy to dry completely, which can take up to a week, before placing any items on it.
The Drip Cap
- Acrylic tabletops are clear and look like glass.
- Paint the tabletop with whatever color you desire.
- Paint shapes, swirls, names or any other designs you like.
- Allow the paint to dry for four hours before applying the epoxy.
- Mix the two parts of the epoxy.
- Spread it around to cover the entire tabletop with the plastic scraper.