


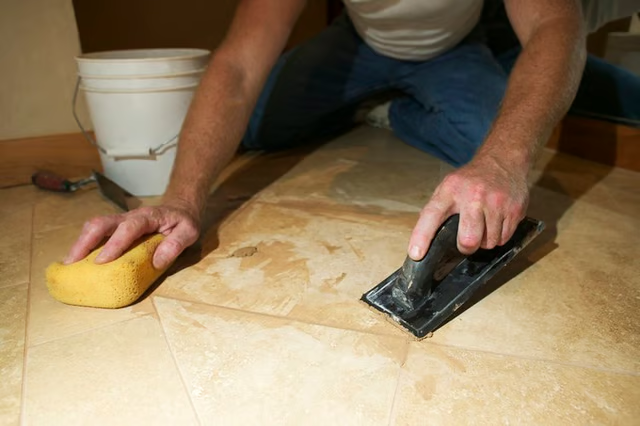
The perfect way to install marble and travertine is the same way the master craftsmen of ancient Greek and Roman times installed stone: seamlessly.
Things You Will Need
Installing Seamless Travertine or Marble
-
Using the notched edge of your trowel, spread an even coat of thinset in the area where your marble or travertine will be installed. Make sure that the entire area is covered with an even layer, or there will be air pockets and ridges that can cause the tile to settle improperly.
-
Using the flat side of your trowel, skim-coat the back side of the marble or travertine with a thin layer of thinset. Make sure to apply an even coat across the entire back of the tile, including the edges. This insures that there is no "bleed through" effect of the ridges in the thinset you spread on the surface.
-
Place the marble or travertine tile in place. Apply firm but gentle pressure and move the tile slightly in all directions, ensuring a good bond between the back of the tile and the thinset on the surface of your installation area.
-
Set the next piece of tile adjacent to the first piece, being sure to repeat steps 2 and 3 for every marble or travertine tile you install. Do not use tile spacers. Instead, line up the corners of the tiles and use your rubber mallet to gently tap the surface of the marble or travertine until it is butted up tightly against the adjacent piece.
-
Use your level or straightedge to insure that the tiles are flat/flush on the surface you are installing. If a tile is too low, simply pry it up and add more thinset underneath. If it is too high, you can remove excess thinset to ensure a flat installation. It is imperative that every piece of marble/travertine is installed tight and flush for a seamless installation.
The Drip Cap
- Natural stones of any kind add a cultured look and feel to a project that resonates with splendor.
- Using the flat side of your trowel, skim-coat the back side of the marble or travertine with a thin layer of thinset.
- If it is too high, you can remove excess thinset to ensure a flat installation.