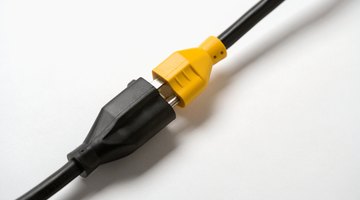
How to Splice an Extension Cord
Extension cords are the workhorses of do-it-yourselfers everywhere. Whether you need the for power tools, lawn tools or just some power for the holiday lights display, extension cords do the job.

Occasionally you may need to splice and extension cord, either because of damage to one of the cords or the need for a longer line.
Things You Will Need
- Utility knife
- Wire strippers
- Electrical tape
-
Unplug the cord before doing any work. Use a utility knife to cut through the cord cleanly and expose the inner wires.
-
Strip off some insulation. Use a wire stripper, or slice carefully down the cord with your utility knife; peel back 3 inches of rubber and insulation revealing the inner wires. You should see a black, white and possibly a green grounding wire.
-
Remove the insulation from the inner cords exposing the copper wires. You want about 1 inch of copper showing. Take the two halves of the extension cord and join the corresponding wires together, black to black, white to white, green to green. Do this by twisting the copper wires together.
-
Cover all connections individually with black electrical tape. Next, cover the entire bundle of wires in tape. Over lap while wrapping the tape, and continue taping up the wire 3 inches in either direction. This splice will be safe for use in dry conditions.
The Drip Cap
- Extension cords are the workhorses of do-it-yourselfers everywhere.
- Strip off some insulation.
- Use a wire stripper, or slice carefully down the cord with your utility knife; peel back 3 inches of rubber and insulation revealing the inner wires.
- Do this by twisting the copper wires together.
Writer Bio
Steve Bradley is an educator and writer with more than 12 years of experience in both fields. He maintains a career as an English teacher, also owning and operating a resume-writing business. Bradley has experience in retail, fashion, marketing, management and fitness. He holds a Bachelor of Arts in English and classics.
Photo Credits
- Jupiterimages/Photos.com/Getty Images
- Jupiterimages/Photos.com/Getty Images
More Articles


