


Things You Will Need
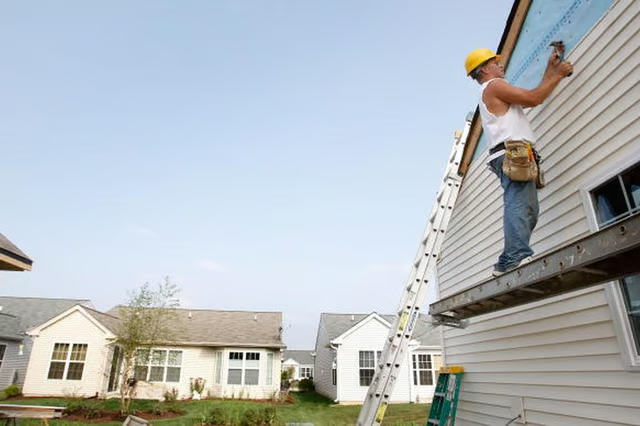
Installing vinyl siding over an existing siding product involves first fastening rigid foam to the house. This will aid with insulation, but the primary reason for the foam is to create a firm base for the new siding to be fastened onto.
-
Install rigid foam insulation over the existing siding. Nail the insulation in place using galvanized roofing nails. The insulation will provide a level surface over the old siding so that the vinyl siding will lie flat and securely.
-
Find the low point of the house by using a level and chalk line. Follow the siding manufacturer's instructions and snap a base line the distance specified above the lowest point.
-
Fasten a starter strip to the house. A starter strip is a folded aluminum piece that will hold the first course of siding panels in place.
-
Install inside and outside corner pieces. Leave 1/4 inch beneath the eaves, and extend the corner pieces 1/4 inch beyond the low point of the old siding. The siding panels will fit into these pieces.
-
Install J channel around the edges of doors and windows, and along any sloped eaves. Install undersill channel to the underside of windows, and along any horizontal eaves.
-
Install the siding pieces. Start at the base and rest the bottom of the first siding course on the starter strip. Nail the siding panels through prepunched nail holes. Drive the nails through the center of the nail slots, and leave 1/32 to 1/16 inch of the nail shaft extended beyond the surface of the vinyl. The siding should be secured, but with room for expansion. Never drive any nails tight when installing vinyl siding.
-
Overlap the adjacent panels by 1 inch, and stagger the joints between siding courses by 4 feet. Leave 1/4 inch of room where the panels rest in the J channel.
-
Check your level every five or six courses and make adjustments accordingly.
-
At the top edge, if the siding needs to be cut, use a snap-lock tool to create lock lugs in the cut siding edge. These lugs will lock the siding panel into the channel.