


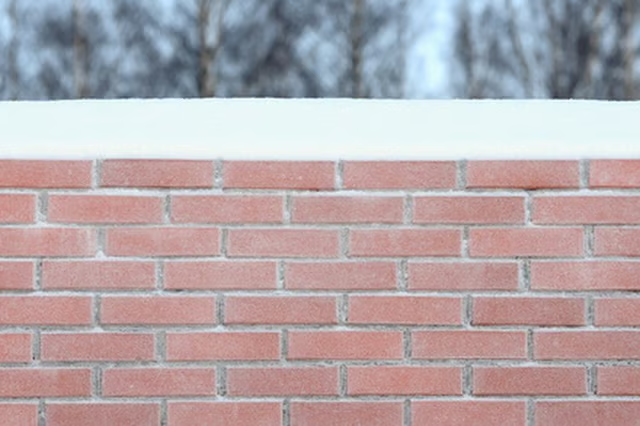
This prevents freezing conditions from causing the wall to freeze and break. The cap stone is the last component added to the wall system. The cap is made in a concrete form to fit the wall system.
Things You Will Need
Building a cap form
-
Measure the total width of your wall system. This includes the CMU (concrete masonry unit) block, and any stone or brick veneer.
-
Build a concrete form to hold the concrete for the cap. Cut a piece of plywood 4 1/2-inches wider than the thickness of the wall system. Cut it 19 1/2-inches long. Use a table saw and a miter saw for this step. This will make a concrete cap that will cover the length of a CMU block, and will overhang each side by 1/2-inch.
-
Cut two 2-by-4s that are 19 1/2-inches long. These will make the two sides of the concrete form for the cap.
-
Cut two 2-by-6 blocks that are 3-inches less than the width of the plywood base. Mark the center of the 2-by-6s in length. Mark the center of the block at 4-inches. This will be the location of the high point of the concrete form. Measure and mark both ends of the blocks at 3 1/2-inch. Draw a straight line from the 4-inch center to the 3 1/2-inch center on each side of the block. Cut the block along this line. These are the end blocks for the concrete form.
-
Nail the form work together. Use glue to help hold this together.
-
Caulk the interior seams with a silicon caulk. Use a damp finger to smooth the caulk joint. This makes it easier for the concrete to come out of the form after it has dried. Let the caulk dry before proceeding.
-
Apply oil to the inside of the form. The oil acts as a release agent letting the concrete come out of the form after it has set. You can use a oil that comes in a spray can for this step.
-
Mix a bag of concrete and pour it into the form. Use the end of a wood float to work the concrete into the form making sure there are no air pockets in the concrete. Use a 2-foot piece of 2-by-4 lumber to work back and forth across the concrete form to level the top of the concrete.
-
Smooth the top of the concrete with a wood float. Cut the perimeter of the concrete around the form with a pointed trowel to help separate the concrete from the form. Use a edger tool to round over all of the edges of the concrete. Let the concrete set for a few hours and then carefully flip the form over on soft grass to release the concrete cap.
The Drip Cap
- When constructing a concrete wall system it is important to cap it, to keep water from penetrating into the wall.
- The cap is made in a concrete form to fit the wall system.
- Cut a piece of plywood 4 1/2-inches wider than the thickness of the wall system.
- Use a damp finger to smooth the caulk joint.
- Let the caulk dry before proceeding.
- Apply oil to the inside of the form.
- Use the end of a wood float to work the concrete into the form making sure there are no air pockets in the concrete.
- Smooth the top of the concrete with a wood float.