


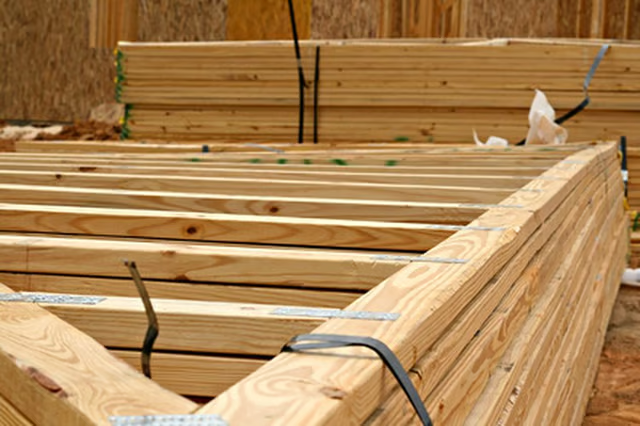
You will need to install the ledger before you can attach the roof trusses to the block wall.
Things You Will Need
-
Measure the width of the block and the length of the wall with the tape measure. Measure each wall of the structure. You will require a 2-by-6 or a 2-by-8 boards for the ledger.
-
Measure the board for the length of ledger for the wall. Cut the board to the required length using the circular saw.
-
Measure 1 1/2 inches inward from the long edge of the board. Make a mark with a pencil on each end of the board. Place a chalk line on each mark and snap a line. Repeat this step on the other opposite edge.
-
Measure down the length of the chalk lines and make a mark every 12 inches with the pencil. Drill pilot holes on each mark with the power drill using the 1/4-inch bit.
-
Set the ledges on top of the block wall. Drill into the block through the pilot holes, using the 3/16-inch concrete bit. Drill into the block to a depth of 1/8 inch.
-
Remove the ledger board and lengthen each hole to a depth of 1 3/4 inches.
-
Set the ledger back on top of the wall. Secure the ledger by driving a concrete 3 1/2-inch concrete screw into the block.
-
Measure and mark the location of the roof trusses. Set the roof truss on each mark. Secure it with a joist hanger using the hammer and nails. Repeat this step to attach the remaining trusses.
The Drip Cap
- Walls that are constructed of concrete block, that need to be covered with a roof, will require the use of a ledger.
- The ledger is needed to properly attach the perpendicular roof trusses to the top of the structure.
- Repeat this step on the other opposite edge.
- Remove the ledger board and lengthen each hole to a depth of 1 3/4 inches.
- Set the roof truss on each mark.