


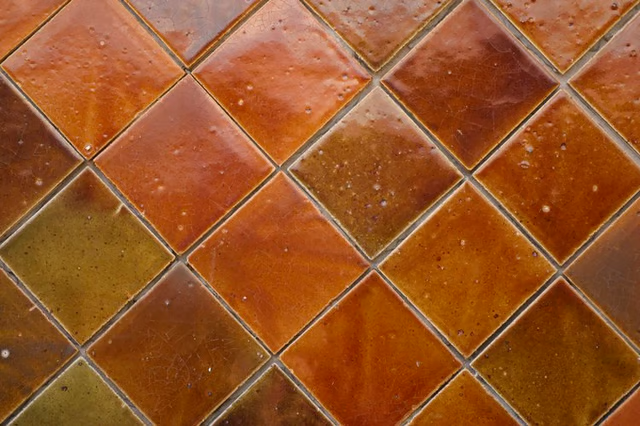
The issues with tiling over slate are the same as with tiling over cement: The main thing is to make sure the surface is free of any oil or grime, and is in good repair, without any cracked or crumbling areas.
Things You Will Need
-
Put one cup of TSP into a gallon of hot water. Use a stiff scrub brush to clean the slate thoroughly. Rinse well. Let the surface dry completely (at least 48 hours).
-
Snap two intersecting lines across the slate surface, using a chalk snapline. The lines should divide the space into four even squares. Use a t-square to ensure the lines are square to each other.
-
Use your notched trowel to apply thinset mortar over a few square feet at the middle of the area, at the intersection. The combed pattern from the trowel will allow you to see the lines through the mortar.
-
Press four tiles into the mortar, at the intersection of the lines, placing spacers between them.
-
Spread additional mortar and press in more tiles, working your way out toward the walls in a grid pattern. Space all the tiles with spacers. Cut the tiles to fit along the walls, using your tile cutter.
-
Tile the whole slate surface. Let the tiles set overnight. Take out the spacers.
-
Lay grout over the new tiles with a grout float, starting at one edge of the area and working across. Wipe off the excess grout using a damp sponge.
The Drip Cap
- Slate is generally considered one of the finer surfaces for floors or walls, but maybe you've got a slate surface that's stained beyond repair, or you just don't like it.
- Use a t-square to ensure the lines are square to each other.
- Cut the tiles to fit along the walls, using your tile cutter.
- Wipe off the excess grout using a damp sponge.