How to Assemble a Clamp Lamp
Clamp lights come in a variety of shapes and sizes, but the type that most often requires user assembly is the basic metal or porcelain reflector style with a spring clip.

Things You Will Need
- Clamp light kit
- Light bulb
These lights are used in garages ad workshops, and to add heat and light to animal habitats such as reptile terrariums, because the reflector does an excellent job of capturing and aiming the light's heat. Most clamp lights use wing nuts and do not require any additional tools for assembly.
-
Find the piece of your clamp light kit that consists of two slightly hooked metal pieces held together by a bolt with a wing nut. Loosen the nut as far as you can without taking it completely off.
-
Place the straight ends of the hooked metal pieces over the small ball end of the spring clamp assembly, then place the lamp base (usually white porcelain) between the curved ends of the metal pieces so they will clamp toward the back end where the wires come out. Some models have a set of grooves for the metal to fit into. Hold all pieces in place and tighten the wing nut.
-
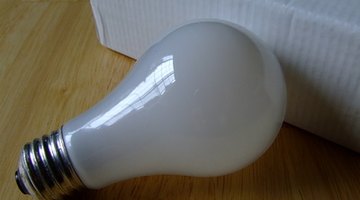
Place the reflector over the socket end of the lamp base and screw in the light bulb. Some models have a clip that holds the reflector in place, while others rely on the bulb to hold it there. Squeeze the long metal pieces of the lamp's clamp together to open the clamp, then release them to hold the lamp in place where you want it. The ball assembly allows you to aim the reflector and lamp in a variety of directions without re-clamping.
Tip
Some models may require placing the reflector on the base before attaching it to the clamp. If it the reflector does not seem to fit correctly, try disassembling and pushing it onto the lamp base from the back before attaching the hooked metal pieces.
References
Writer Bio
Anne Hirsh has been writing and editing for over 10 years. She has hands-on experience in cooking, visual arts and theater as well as writing experience covering wellness and animal-related topics. She also has extensive research experience in marketing, small business, Web development and SEO. Hirsh has a bachelor's degree in technical theater and English and post-baccalaureate training in writing and computer software.
Photo Credits
- light bulb image by David Ng from Fotolia.com
- light bulb image by David Ng from Fotolia.com
More Articles


