Things You Will Need
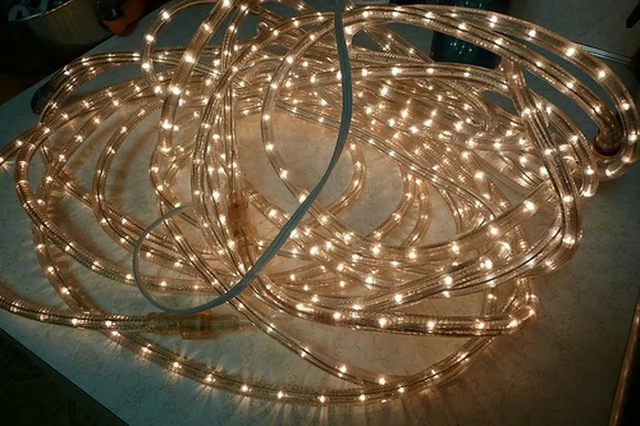
If you want to have different colored lights in one stretch of lights, you will have to splice rope lights together. Splicing is also an option when a section of the rope light stops working and you want to replace them. Made of miniature lights encased in flexible, translucent PVC tubing, it is easy to learn how to splice rope lights together to create a longer or more colorful run of rope lights.
-
Choose a strand of rope lights to splice that is compatible to your existing set. If your rope lights are 12 V, you must choose another 12 V rope light set. The same principle applies if you have a 110 or 120 V set. In addition, if your rope lights have two wire strands, you must choose another compatible rope light set to splice with two wires.
-
Look for silver line markers on the rope light that indicates where you can cut it safely for splicing. Typically, these silvery lines occur every 18 to 36 inches, depending on the length of the rope light.
-
Cut your existing rope light at the silver line marker of your choice using sharp utility scissors. Repeat the process with the second set of rope lights you want to join to your current set.
-
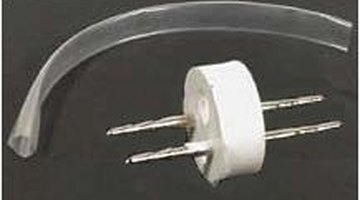
Slide a clear piece of plastic tubing from the invisible rope light splicing kit over one cut end of the rope light.
-
Insert the splice connector onto both ends of the cut rope lights. The splice connector is a round plastic disk with metal prongs sticking out both sides. The metal prongs will slide onto the wires inside the cut ends of each rope light you want to connect together. Push both ends of the rope light snugly onto the splice connector.
-
Slide the clear piece of plastic tubing over the new connection where the cut rope lights are now joined together and heat it with a hair dryer. The heat will shrink the plastic over the new connection to seal and protect it.
-
Repeat steps three to six for any remaining splicing connections.