


Things You Will Need
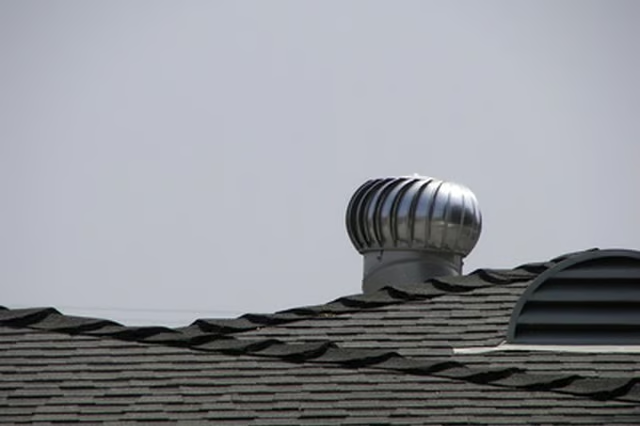
The obvious solution is to install exhaust vents on the roof to reduce the harmful and expensive overheating. Turbine vents are among the most effective exhaust vents available. Strategically placed on the roof, they can dramatically reduce excessive attic heat.
-
Select the side of the roof where the turbine vents will be installed. (Normally, this is the back side of the roof not visible to passing traffic.) Measure the length and width of that side of the roof.
-
Divide the length by the number of vents you wish to install. Divide the width the same way to get the vent locations. For instance, if your roof is 40 feet long, and you want to install two vents, 40 divided by 2 is 20. The middle of this 20-foot section of roof will be at the 10-foot line. Locate the first vent at the 11-foot mark lengthwise to account for the eave or overhang of the roof.
-
Find the best central location for the vents in width. Divide the width by two, and add another foot for the overhang. For example, if the back side of the roof is 20 feet wide, half of 20 is 10. Add another foot to 10 and get 11 feet. The best central locations for the two vents are at the 11-foot points for each end of this back side of the roof.
-
Go up into the attic and locate the roof rafters at the 11-foot length mark for the example above. Install the turbine vents between the rafters nearest the 11-foot mark. Move it one way or the other to avoid the rafters.
-
Place the turbine vent neck against the underside of the roof decking, from inside the attic, and trace it with a marker. Drill a location hole in the center of the traced-out mark through the decking, felt and shingles. Do the same for the other vent location hole.
-
Take the turbine vent up on the roof. Center it over the drilled hole. Use a utility knife to trace out the hole to be cut. Use a hammer to pull the roofing nails.
-
Remove the shingles and felt within the circle down to the decking. Loosen the shingles and felt at the four corners of the vent neck hole, so the vent base can be slipped underneath to be mounted directly to the decking.
-
Use a reciprocating saw to cut out the decking. Install the vent base boot onto the vent base, if your vent assembly came with one. Put the turbine onto the base, and level it. Screw the assembled turban vent to the decking with sheet metal screws.


