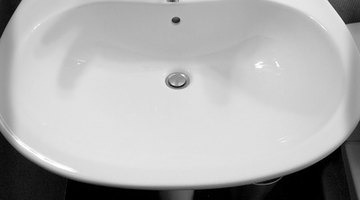
Porcelain Enamel Repair
Porcelain enamel is used on a variety of household fixtures including bathtubs, toilets and sinks. Although porcelain enamel is extremely durable, sharp objects or hard blows can crack and chip it. These unsightly gashes detract from the appearance of the object and allow moisture into the porcelain.

Things You Will Need
- Medium-grit sandpaper
- Cloths
- Rubbing alcohol
- Porcelain repair kit
- High-gloss, alkyd-base paint
- Paper cup
- Wooden craft stick
- Razor blade
- Cotton swab
- Fingernail polish remover
Although a professional will repair the chip, you may also fix it yourself using a porcelain repair kit from a home improvement store.
-
Sand the damaged area of the porcelain enamel with a medium-git sandpaper to roughen the surface. Brush away all sanding dust and chipped porcelain with a cloth.
-
Pour 1 tbsp. rubbing alcohol onto a cloth, and wipe the area thoroughly to remove all surface oil that may interfere with the repair process.
-
Open the repair compound from the porcelain repair kit. Squeeze 1 to 2 tsp. into a paper cup. Add 1/4 tsp. of a glossy, alkyd-base paint that is the same color as the porcelain you are repairing. Mix the two solutions together with a wooden craft stick. Continue mixing adding more paint if needed until you achieve a perfect color match.
-
Scoop up 1 tsp. of the mixture with the craft stick and scrape it into the damaged area. Build the compound up slightly over the top of the damage. Place a razor blade flat against the surface of the porcelain object and drag it across the area to scrape off the excess compound.
-
Allow the repair to sit until it is dry to the touch but not fully cured.
-
Dip a cotton swab into nail polish remover, and rub the edges of the repair with the swab lightly to blend it into the surrounding porcelain enamel. Let compound dry thoroughly.
Tip
Some repair kits have a two-part repair compound that must be mixed together. Follow the instructions on the kit for proper mixing instructions.
Tips
- Some repair kits have a two-part repair compound that must be mixed together. Follow the instructions on the kit for proper mixing instructions.
Writer Bio
Kimberly Johnson is a freelance writer whose articles have appeared in various online publications including eHow, Suite101 and Examiner. She has a degree in journalism from the University of Georgia and began writing professionally in 2001.
Photo Credits
- modern sink image by nextrecord from Fotolia.com
- modern sink image by nextrecord from Fotolia.com
More Articles


