


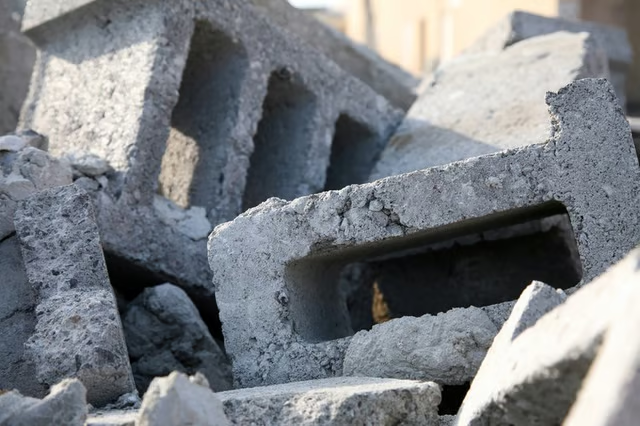
Cinder blocks vary from concrete in one way -- granulated coal or volcanic cinders substitute for the sand and gravel. Mixed with water and portland cement, the coal or cinder is shaped in a mold to produce either hollow or brick-like blocks. It's something you can learn to do yourself for your own projects or to earn a little extra money.
Things You Will Need
-
Lay a 4-by-8 sheet of 3/4-inch-thick plywood on a flat work surface. Beginning at a corner, use a tape measure to measure from the long edge up 8 inches, then mark the wood. Align a straightedge with the 8-inch mark and draw a solid line to use as a cut guide.
-
Cut along the cut line using a circular saw. When it is completely detached, you will have an 8-inch-wide section of plywood that is 8 feet long.
-
Use the tape measure and a straightedge to divide the plywood plank into sections measuring 16 inches long. An 8-foot-long plywood board will yield six separate boards. Set aside three of these boards to form the bottom and sides of the cinder block mold.
-
Divide one of the remaining 16-inch long boards into two sections, each 8 inches long. These are your cinder block mold ends.
-
Lay one 8-by-8-by-16 board flat on your work surface. Place a side board against a long edge, aligning the bottom edges to create a square joint. Drive a screw through the side and bottom joint in four separate areas to attach the side board to the bottom securely. Repeat with the opposite side board.
-
Switch to the ends and attach similarly. Use screws to secure each end piece to the bottom board in two locations. Screw the end to the side boards as well.
-
Reinforce the cinder block mold's sides with 2-by-4 boards. Cut two boards to measure 16 inches long and two that measure 11 inches long. The extra 3 inches of the end pieces allows the end boards to overlap the side boards, providing an area to screw the 2-by-4 boards together.
-
Use screws to attach the 16-inch-long sections to the mold sides, driving the screws from the inside out so that the plywood is entirely penetrated. Add the 11-inch-long boards to the end pieces, securing to the plywood from the inside out again. Drive screws through the ends of the end boards into the ends of the side boards to join all four 2-by-4s together.
-
Create hollow areas in the cinder blocks by attaching a blocking agent to the inside of the mold. Cut 4-by-4 boards to 8 inches in length. Place as desired and flip the mold over to screw up into the 4-by-4s to attach. Alternatively, create miniature molds similarly to the larger block mold and attach as desired to create the voids. Cinder blocks with hollow areas are lighter, but solid blocks are stronger.
-
Oil the inside of the mold to help the cinder block release from the mold and extend the life of your mold. Brush or spray on mineral oil, vegetable oil or even soft soap. Motor oil works but creates environmental contamination problems if applied excessively and allowed to run off. Wipe the wood down once the oil is spread to remove excess oil.
The Drip Cap
- It's hard to imagine a more versatile building material than cinder or concrete blocks.
- From foundations to fences, barbecue pits and even rustic shelving units when coupled with a few boards, you can find a use for cinder or concrete blocks most anywhere around the house.
- Use screws to secure each end piece to the bottom board in two locations.
- Screw the end to the side boards as well.
- The extra 3 inches of the end pieces allows the end boards to overlap the side boards, providing an area to screw the 2-by-4 boards together.
- Cut 4-by-4 boards to 8 inches in length.
- Oil the inside of the mold to help the cinder block release from the mold and extend the life of your mold.
- Motor oil works but creates environmental contamination problems if applied excessively and allowed to run off.