


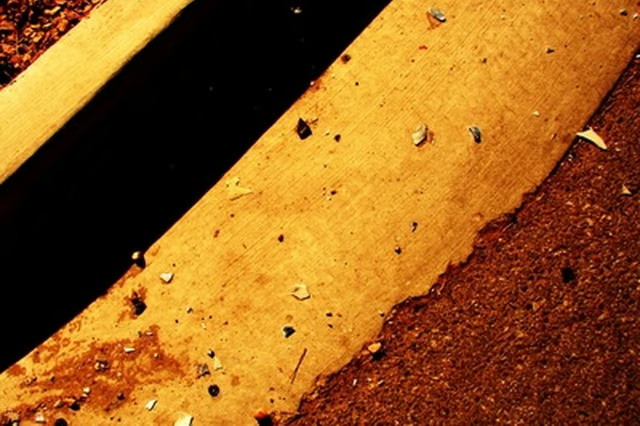
However, a tailored, custom concrete curb gives the space an organic feel. While it may sound challenging, any homeowner can build a curb in concrete as a weekend project.
Things You Will Need
-
Decide where you will build your concrete curbing and where you will need to outline and contour surfaces.
-
Determine the shape and the disposition of your curb. Make a sketch of the concrete curbing; then mark the shape of the curb on the area where you will put it. Use chalk for pavement or asphalt and spray paint for grass or soil areas.
-
Dig a trench with a trowel along the marks that you made. The trench should be approximately 2 to 5 inches deep and 10 inches wide. Compress the soil in the trench with a hand tamper.
-
Make a mold for your concrete curb with wooden or plywood boards. If you are making a simple, straight curbing shape, use wooden boards for the mold. If you want to achieve curved curb lines, use bendable and flexible plastic boards. Cut and shape the forms with a power saw.
-
Set the boards along the sides of the trench, making sure that the smooth sides are facing inward. Drive the rebar into the trench so that the boards are fixed in place, fixing the posts 2 to 3 feet from each other to make the position of the boards steady and firm. Since the rebar pieces will remain embedded in the concrete, the pieces should be at the same height as your trench. You can cut the pieces with a rebar cutter or a circular saw with a diamond cutter.
-
Mix the concrete for the curb by following the manufacturer’s instructions for getting the proper consistency. You can add some color pigment directly to the mixture if you want.
-
Pour the concrete mix into the mold, carefully and slowly, filling it up to the desired height for your curbs. Smooth the top surface of the concrete curb with a concrete hand float.
-
Leave the concrete curb to cure for the recommended period indicated by the manufacturer of the cement mix. It usually takes around one to four weeks.
-
Backfill along the structure of the curb with soil or gravel.
The Drip Cap
- A curb is a functional and aesthetic connection between two areas of slightly different heights.
- Compress the soil in the trench with a hand tamper.
- If you want to achieve curved curb lines, use bendable and flexible plastic boards.
- Set the boards along the sides of the trench, making sure that the smooth sides are facing inward.
- Smooth the top surface of the concrete curb with a concrete hand float.
- It usually takes around one to four weeks.