


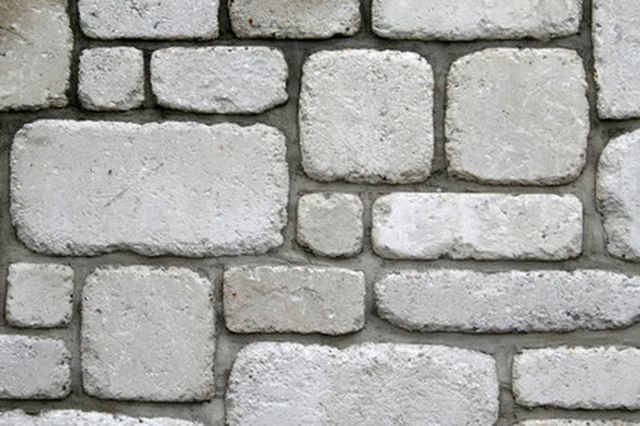
Attractive and long-lasting, stone veneer is costly and difficult to install for the average homeowner. This demanding and physical job is ideally left to those experienced in working with masonry mortar. But if you like a challenge and are willing to invest the time and effort needed to execute the project correctly, you can install stone veneers that will make you proud.
-
Make sure that your concrete or cinder block wall is clean, smooth and free from paint. Arrange the dry stone veneer on the ground or any other large, flat surface. Find the pattern most visually appealing to you. Most experts suggest you place lighter stones next to darker stones and larger ones next to smaller ones for the best look.
-
Attach a wire mesh base to the wall according to the manufacturer's directions. Masonry mesh may resemble medieval chain mail, but it provides a textured surface to which the mortar and stone veneer will adhere.
-
Mix the dry mortar with water until it is as thick as mashed potatoes. Use a hand trowel to apply a 1/4" to 1/2" thick layer of mortar directly onto the wire mesh. Press lightly with the trowel as you work to permit the mortar to penetrate the holes in the mesh. Allow this layer to sit for several hours until it dries.
-
Spread additional mortar on the back of each piece of stone veneer. Place a generous amount on the sides of each stone as well, taking care not to stain the face of the veneer with mortar. Press the stone veneer onto the prepared wire mesh-and-mortar base and hold it in place for 2 to 3 seconds. Slowly remove your hands, then repeat the process with the next piece of stone veneer, placed one inch over. Work horizontally and from bottom to top for the most professional-looking results, staggering the joints between each row.
-
Fill a masonry grout bag with mortar. Holding the main part of the bag with your non-dominant hand, use your dominant hand (the right, if you're right-handed) to slowly guide the nozzle along the joints, filling them with mortar to a point just below the surface of the stone veneer.
-
Use a putty knife or a tooling blade to flatten the grout between the joints. Make sure to fill in any bare spots to create a water resistant seal. Wipe any mortar from the face of the stone veneer with a damp cloth and allow the wall to dry completely.