


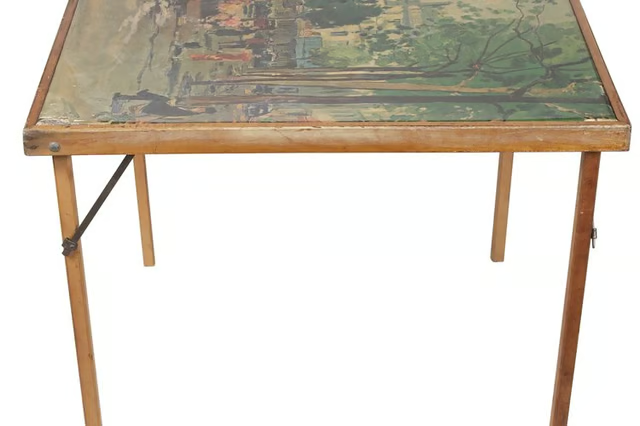
Vinyl bench seats and banquettes can also be recovered using the same process. Use your reconditioned vinyl furniture to create a nostalgic breakfast nook.
Things You Will Need
Table Top
-
Use a Phillips head or flat-head screwdriver to remove any screws holding the edge trim around the table in place. Carefully remove the edge trim without bending it.
-
Pull away the old vinyl fabric covering. Wipe the edges and surface of your table with solvent to remove any residue from rubber cement or other adhesives. This creates a smooth, clean surface for your new vinyl fabric covering.
-
Measure the table width from the bottom edge of any trim on one side of the table to the bottom edge of any trim on the opposite side, and add 4 inches. Repeat to measure the table length and add 4 inches to that as well. The extra 4 inches will become a 2-inch overlap on all sides when you stretch the vinyl fabric over the table.
-
Cut your fabric using the measurements you took in the previous step. Brush a thin layer of rubber cement onto the table and edges. Allow it to dry until tacky. Position your vinyl fabric piece so that it hangs 2 inches below the bottom edge of the table on all four sides.
-
Insert one screw through the vinyl fabric and into the center hole on the left side of the table. Stretch the fabric across the table and insert a second screw through the vinyl and into the center hole on the right side. Continue to insert one screw at a time through the vinyl, using opposite pairs of screws and pulling any wrinkles, dimples or bubbles in the fabric smooth as you go. Work from the center to the right first, and then work from the center to the left.
-
Insert screws through the vinyl at the center front and back of the table, pulling it tight and removing any wrinkles and dimples as you go. Continue from the center front and center back to the right, and then to the left. When you reach the corner of the table, you may have to fold the corner of the vinyl to pull it tight, then attach it using one final screw. If there is no screw hole at the corner, use a staple gun to secure the vinyl underneath the table where the staple will not show.
Chairs
-
Remove any edge trim or screws on the chairs. Remove the old vinyl fabric covering as well. Check the condition of the seat cushion. Remove the cushion if it is crumbly, squashed or misshapen. Skip to step 5 if your seat cushion appears to be in acceptable condition.
-
Wipe the seat surface with acetone or other solvent to remove any adhesive residue or decayed foam.
-
Apply rubber cement to the entire seat surface once it is clean and dry.
-
Press the new cushion into place and allow the rubber cement to dry overnight.
-
Follow the same directions you used when recovering the tabletop once you have replaced the seat cushion.
The Drip Cap
- Old vinyl-top tables and chairs can be given new life.
- The extra 4 inches will become a 2-inch overlap on all sides when you stretch the vinyl fabric over the table.
- Brush a thin layer of rubber cement onto the table and edges.
- Insert one screw through the vinyl fabric and into the center hole on the left side of the table.
- Work from the center to the right first, and then work from the center to the left.
- Wipe the seat surface with acetone or other solvent to remove any adhesive residue or decayed foam.