


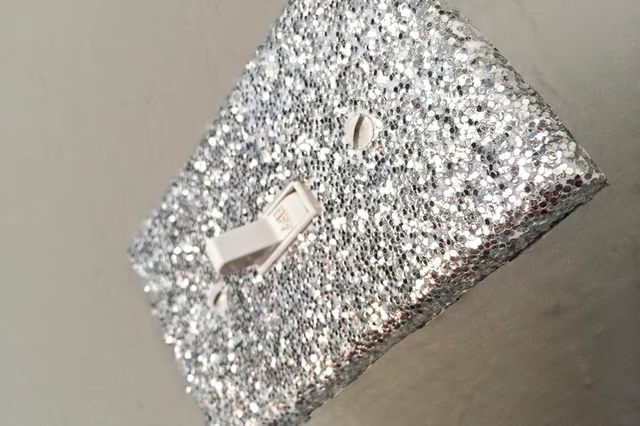
Create designs with several different colors of glitter, using painter's tape or stencils to separate one section from another.
Things You Will Need
-
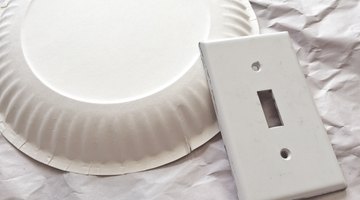
Cover the work surface with newspaper. Set the cover plate atop the paper, along with a paper plate.
-
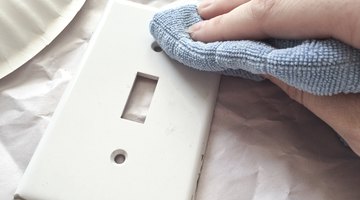
Wipe down the cover plate with a damp rag to remove fingerprints or residue. Wipe it again with a dry rag or allow it to air dry.
-
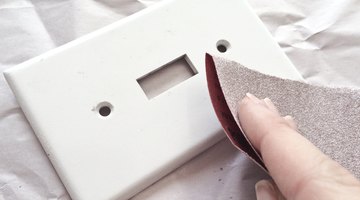
Scuff up the cover plate with a fine-grit sandpaper to make any coating on it more receptive to glue. This should be done whether the cover plate is made from wood, metal or plastic. Wipe away the dust with a soft rag.
-
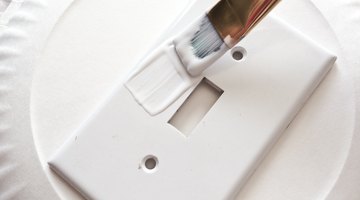
Set the cover plate atop a paper plate. Brush a layer of decoupage medium over the front of the cover plate, avoiding the screw holes.
-
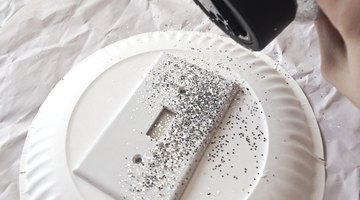
Sprinkle your favorite color and size of glitter over the cover plate. Shake the glitter straight out of the container, or fold a paper plate in half and pour glitter into the crease, using the plate to shake the glitter over specific areas of the cover plate.
-
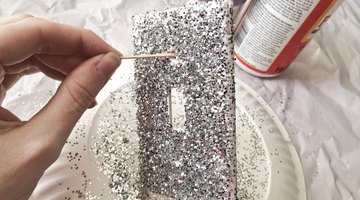
Lift part of the cover cover plate at an angle by placing a toothpick or cotton swab stick with the cotton removed through one of the screw holes. Shake the cover plate gently to allow loose glitter to fall back onto the paper plate. Set the cover plate back down and sprinkle more glitter over it, lifting and removing loose glitter, until the plate is covered to your liking. Allow it to dry for an hour or so before handling.
-
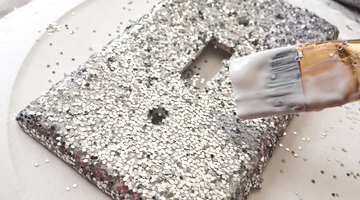
Brush loose glitter onto the paper plate with your fingers. Apply another coat of decoupage medium over the dry cover plate, if desired, to help prevent the glitter from coming off.
The Drip Cap
- Give a plain light switch cover a glittery makeover for a splash of glitzy sparkle for a teen or tween's room.
- Wipe away the dust with a soft rag.
- Brush a layer of decoupage medium over the front of the cover plate, avoiding the screw holes.
- Shake the glitter straight out of the container, or fold a paper plate in half and pour glitter into the crease, using the plate to shake the glitter over specific areas of the cover plate.
- Set the cover plate back down and sprinkle more glitter over it, lifting and removing loose glitter, until the plate is covered to your liking.