-
Turn off power to the light fixture at the fuse/breaker box. Remove the fixture. Push dangling wires into the junction box. Make a wiring diagram for reference when reconnecting the wires through the medallion and cover plate.
-
Clean the area on the ceiling where the medallion will rest using soap, water and an abrasive sponge.
-
Center the light fixture's cover plate on the face of the medallion. Use a pencil to mark reference points around the cover plate. Draw a circle on the medallion one half inch inside the reference plate using a compass.
-
Drill a hole inside the circle with the portable drill fitted with the 3/8-inch bit. Using a drywall saw, start in the hole and continue to cut around the marked circle. Sand the circle's edge with the medium grit sanding sponge.
-
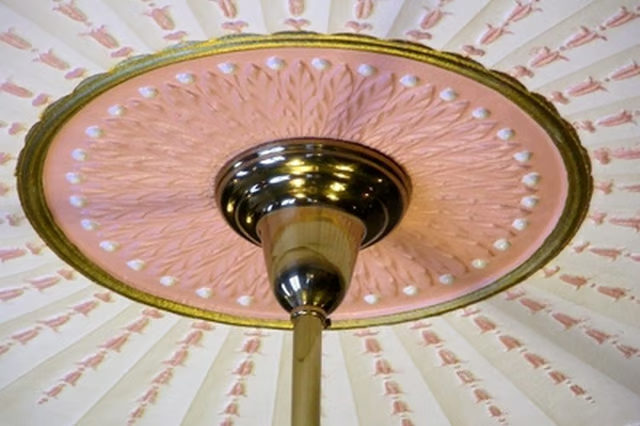
Center the medallion over the electrical box and hold it while screwing the fixture's cover plate into the threaded nipple to ensure that the nipple will be long enough to tighten the cover plate over the medallion. If the cover plate is not snug, a longer nipple is required.
-
Remove the cover plate and medallion. Paint the medallion to match the ceiling or wall trim.
-
Spread a bead of adhesive caulk to cover the back of the medallion. Center the medallion over the junction box on the ceiling. Attach the fixture's cover plate to temporarily hold the medallion in place. Drive four countersunk trim head screws around the medallion. Remove the cover plate.
-
Fill the screw holes with a dab of caulk and caulk around the medallion. Let dry. Touch up the screw holes with paint.
-
Thread the wires through the nipple and medallion. Re-attach following your wiring diagram. Push wires through the medallion and into the junction box. Replace the cover plate and secure it against the medallion by tightening the collar nut beneath the plate. Restore power to the light fixture.