


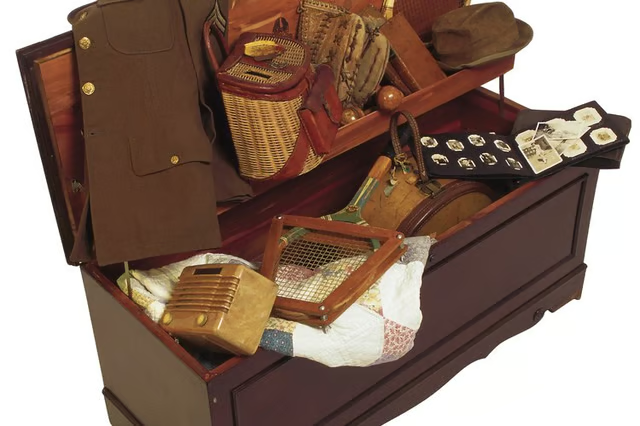
A custom pad not only provides cushioning for the exact size cedar chest you have, but also can match the existing decor in the room for a finished look, making the chest blend in with the rest of your furnishings as though it has always been there.
Things You Will Need
-
Measure the size of the cedar chest’s top in length and width. Determine the thickness you want for the pad. Typically, such a pad is about 3 inches thick. Purchase a piece of upholstery foam from your local craft store cut to the size of the chest’s top.
-
Add 1 inch to both the length and width of the foam. Cut two pieces of fabric to this size to be your pad top and bottom. Add 1 inch to your foam’s thickness. Cut two strips of fabric that measure the length plus 1 inch and the thickness plus 1 inch. Cut two strips that measure the width plus 1 inch and the thickness plus 1 inch.
-
Pair the width edges of a length strip and a width strip together with the patterns facing in. Sew a one-half-inch seam across the edges to connect. Repeat with the other length and width strip. Align the two connected units together with a length strip touching a width strip, and sew the two remaining sets of edges to form a rectangular strip called a boxing strip.
-
Lay a piece of your larger fabric out on a flat surface with the pattern facing up. Turn the boxing strip so the patterned side is facing inside the rectangle. Lay the boxing strip over the large fabric and align the seams of the boxing strip to the corners of the large piece. Align the edges and pin all the way around. Sew a one-half-inch seam along all four sides and remove the pins as you go.
-
Lay the remaining large piece of fabric on a flat surface with the pattern up. Place the unit you just completed over the fabric with the boxing strip touching the fabric and the attached large piece resting above the boxing strip with the pattern facing down. Align and pin the edges along all four sides.
-
Sew a one-half-inch seam around the material, but leave a 6-to-8-inch gap along one of the short sides of the rectangle. Remove the pins as you sew. Turn the pad case right side out through the gap.
-
Squeeze the foam material together along one of the shorter sides and push it through the gap in the fabric case. Continue to squeeze the foam and push it through the gap until the entire foam pad is inside the case. Adjust the case as needed so the seams run smoothly along the edges of the foam. Hand-stitch the gap closed to finish.
The Drip Cap
- A cedar chest adds storage in any home but can take up a lot of space.
- A custom pad not only provides cushioning for the exact size cedar chest you have, but also can match the existing decor in the room for a finished look, making the chest blend in with the rest of your furnishings as though it has always been there.
- Add 1 inch to both the length and width of the foam.
- Cut two strips that measure the width plus 1 inch and the thickness plus 1 inch.
- Align the edges and pin all the way around.
- Squeeze the foam material together along one of the shorter sides and push it through the gap in the fabric case.
- Hand-stitch the gap closed to finish.