


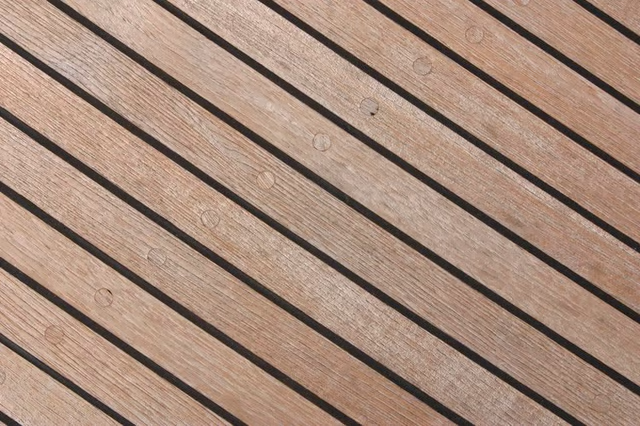
By building a floor with teak, you are actually covering an existing water-proof shower floor since the teak slats stand over the drain and are not waterproof. Teak shower floors are perfect for adding a sophisticated look to an otherwise standard shower stall.
Things You Will Need
-
Measure the inside of the shower floor to determine the width and the depth of your teak floor.
-
Cut 1-by 2-inch slats of teak into sections as long as the shorter measurement of your shower floor, less 1-1/2 inches for the end trim, with a table saw. To figure out how many to cut, divide the measurement of the floor by 1.5 to determine the number of 1-inch slats set 1/2-inch apart.
-
Lay out strips of double-sided carpet tape, 6 inches apart over the surface of a work area as large as the shower floor. Set the slats on the tape 1/2-inch apart.
-
Cut two end sections of teak trim that measure 1/2-inch by 2 inches as long as the longer measurement of your shower floor. Hold the trim against the ends of the slats.
-
Drill two pilot holes on each of the ends to match up with the slats and screw them in place with 2-inch galvanized wood screws.
-
Drill the rest of the pilot holes though the trim and into the slats, two for each slat, and screw them into place. Repeat for the second side.
-
Lift the wood from the tape and set it on your shower floor.
The Drip Cap
- Teak is a naturally moisture-resistant tropical wood from the plantations of South East Asia.
- By building a floor with teak, you are actually covering an existing water-proof shower floor since the teak slats stand over the drain and are not waterproof.
- Cut 1-by 2-inch slats of teak into sections as long as the shorter measurement of your shower floor, less 1-1/2 inches for the end trim, with a table saw.
- Repeat for the second side.