


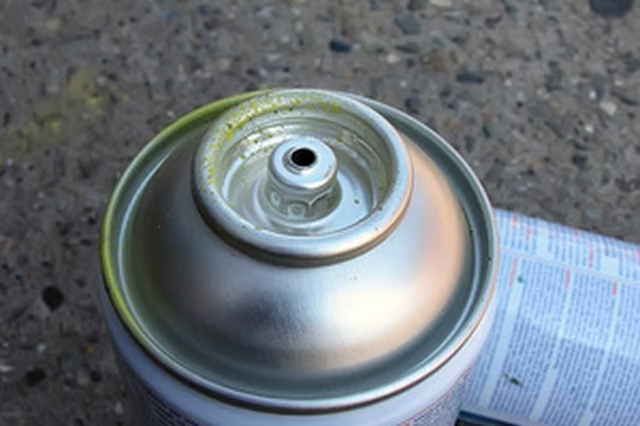
While some may opt to use standard paint and brush for this task, using a specially-crafted spray paint specific for this task can help make less work and mess for the painter along with a more polished end result.
Things You Will Need
Prepping Your Work Area
-
Wipe down the area of rubber trim with a clean rag dampened with an all-purpose cleaning solution.
-
Wipe dry with a clean, dry cloth.
-
Cover the area surrounding the rubber trim with masking or painter's tape.
Painting Your Rubber Trim
-
Shake the can of spray paint for at least one minute.
-
Hold the can 8 to 10 inches away from the rubber trim, then press the button down and spray a light coat of paint along the trim evenly using a steady stroke pattern. Allow a drying time of three hours.
-
Apply an additional light coat of paint. Repeat this step until you achieve the look desired.
The Drip Cap
- Many homes, offices, and cars have rubberized trim and wall bases that may leave some consumers confused when it comes time to update or repair their color.
- Hold the can 8 to 10 inches away from the rubber trim, then press the button down and spray a light coat of paint along the trim evenly using a steady stroke pattern.
- Allow a drying time of three hours.