


For example, if you have nine-foot ceilings (as opposed to the typical eight-foot ceiling), you would use a wider border, maybe even 12 inches wide, to set off the room. In any case, applying pre-pasted border wallpaper is well within the common do-it-yourself homeowner's ability.
Things You Will Need
-
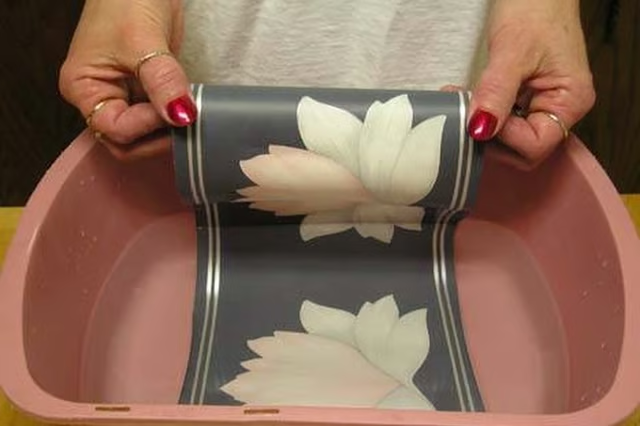
Remove the wallpaper border from its package and unroll it. Place one end of it in the pan of water and pull it through until the entire length is wet. Fold the paper so the pasted sides are touching.
-
Place the folded border between two plastic bags and let it sit. This will allow the paper to soak the water and also prevent it from shrinking after you apply it to the wall.
-
Fill the bucket about half full with water. Place the sponge in the water. Apply the wallpaper by starting in a corner, unfolding it as you go. If possible, use a wet sponge to help remove the bubbles between the paper and the wall as you apply it.
-
Clean excess glue from the wall with a wet sponge, wringing it often. Spread the paper smooth with the wallpaper spreader to help the bonding agent work its best.
-
Open a new package of wallpaper border and match the pattern to the end of the border you just applied to the wall. Use a straight edge and a razor knife to make a good seam. Repeat Steps 1 through 4 until the project is completed.
The Drip Cap
- Applying pre-pasted wallpaper is quite different from applying the paper that needs glue applied.
- In any case, applying pre-pasted border wallpaper is well within the common do-it-yourself homeowner's ability.
- If possible, use a wet sponge to help remove the bubbles between the paper and the wall as you apply it.
- Spread the paper smooth with the wallpaper spreader to help the bonding agent work its best.