


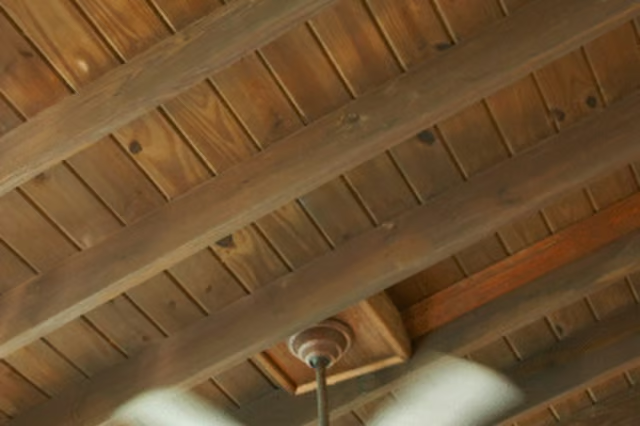
This board is a section of lumber that is the same thickness as the rafter, and 2 feet longer on each side of the damaged section. A scab board installed on each side of the damaged rafter is preferable to a board on just one side.
Things You Will Need
-
Measure the length of the damaged area on the rafter using a tape measure. Add 4 feet to this measurement.
-
Measure and mark two pieces of hardwood lumber to this length using the tape measure, a carpenter's pencil and set square. Ensure that the lumber is the same thickness as the existing rafter (usually 1-1/2 inches, which is the thickness of a standard 2-by-4, 2-by-6 or 2-by-10 plank). Cut through the lumber with a circular saw or miter saw. Remove all splinters from the sawed ends of the lumber with medium sandpaper.
-
Mark each piece of the scab board on one side at its center using the pencil and set square (a 6-foot piece of lumber would be marked at 3 feet). Mark the side of the existing rafter at the center of the damaged section.
-
Position one of the scab boards on one side of the rafter with the center marking on the board facing outward. Line up the board's center marking with the marking on the side of the rafter.
-
Driver galvanized 12d 3-inch nails through the scab board and into the rafter with a hammer. Nail only in the 2-foot-long ends of the rafter that are not directly over the damaged section (the number of nails will be determined by the width of the scab board). Repeat the process with other scab boards.
The Drip Cap
- Over time, broken or cracked roof rafters can appear when wood gets old and dry.
- Although the rafter must be replaced if it is completely broken, smaller areas of damage can be repaired through the application of a scab board.
- Measure and mark two pieces of hardwood lumber to this length using the tape measure, a carpenter's pencil and set square.
- Position one of the scab boards on one side of the rafter with the center marking on the board facing outward.