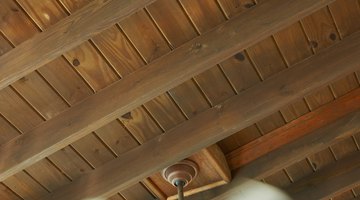
How to Splice a Rafter
There are several reasons that you may want to splice a roof rafter. If the end of the rafter has rotted, removing the end and splicing on a new piece can be a lot easier than replacing the entire rafter. If a tree has hit your roof, or some other damage has occurred, splicing may be the easiest way to fix the rafters.

-
Position the two pieces of the rafter so that their ends are butted tightly together and their bottom edges create a straight line. Check the straightness of this line with a 4-foot level or a straight edge.
-
Place a board that is the same width as the rafters against the joint and extending up and down the rafters. For example, if you have 2-by-10 rafters, use a 2-by-10 for the splice. The longer the piece you use is, the stronger the splice will be.
-
Drive a four-inch screw through the face of the splicing piece and into the rafter, just far enough to hold the splicing piece up. This process is easier and more accurate if you have someone else hold the piece up while you insert the screw.
-
Put another screw into the other end of the splicing piece, just far enough in to support it.
-
Put another piece of wood of identical size and shape on the other side of the rafter that you are splicing. Drive screws into it to hold it. This time, drive the screws all the way through this piece, through the rafters and into the first piece that you put up on the other side of the rafter. You now have a two-piece rafter that is sandwiched between two pieces of wood that are scabbed onto its sides.
-
Drive many four-inch screws through the face of each splicing board, through the rafter and into the opposite board. The more screws you use, the stronger it will be.
Things You Will Need
- 4-foot level
- 2-by-10 lumber
- Screws, 4 inches long
- Drill
Tip
Although you may be tempted to splice together two pieces of wood to create a rafter in new construction, this isn't recommended. A one-piece rafter is always preferable to a spliced one.
Writer Bio
Jagg Xaxx has been writing since 1983. His primary areas of writing include surrealism, Buddhist iconography and environmental issues. Xaxx worked as a cabinetmaker for 12 years, as well as building and renovating several houses. Xaxx holds a Doctor of Philosophy in art history from the University of Manchester in the U.K.
Photo Credits
- Jupiterimages/Photos.com/Getty Images
- Jupiterimages/Photos.com/Getty Images
More Articles


