


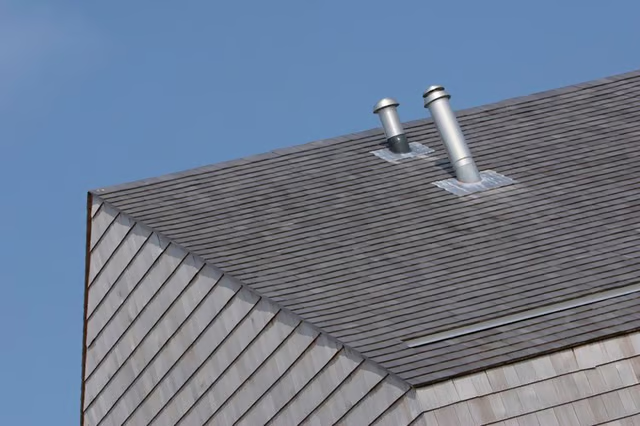
If the vent pipe isn't installed properly, the roof may leak through or around the pipe penetration, leading to costly repairs.
Things You Will Need
-
Go into your attic. Position the vent pipe up to the bottom of the roof. With the pipe in a vertical position, trace around the pipe, using a pencil. The penetration will be oval -- to have a round pipe exit vertically through a pitched roof, you need an oval hole in the roof.
-
Cut through the plywood and roofing material with your reciprocating saw. Follow the outline you marked out.
-
Measure the length of your roof shoe with a tape measure.
-
Climb onto the roof. Loosen the shingles above the hole you cut, the distance from the center of the roof shoe to its edge.
-
Lift up the shingles. Slide the roof shoe under them.
-
Have a helper in the attic slide the vent pipe up through the roof shoe from below. Make sure the pipe is at least 12 inches above the roof surface.
-
Nail the roof shoe to the roof's plywood sheathing with roofing nails. Nail down the shingles you loosened.
-
Connect the vent pipe into its designated piping system. Each system, amount of pipe and fittings will vary.
The Drip Cap
- Plumbing vent pipes are connected to your drain system and are needed for water to drain properly.
- Vent pipes provide this air by running outside the structure of the house.
- Loosen the shingles above the hole you cut, the distance from the center of the roof shoe to its edge.
- Slide the roof shoe under them.