


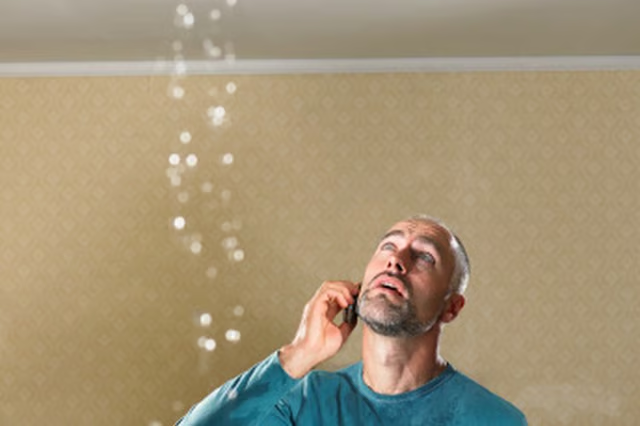
Moisture in walls can be the result of a plumbing, roof or wall system failure. Repairing these systems before mold and wood rot take hold is key to maintaining a safe home.
-
Turn on the infrared camera and adjust its temperature sensing range to give an ideal image. This range will depend on the outside ambient temperature and inside temperature. The range will need to encompass the lowest and highest natural temperatures plus room for variation. It will take a bit of experience to understand the ideal range.
-
Scan the room by starting on one wall and working your way around the room, finishing by scanning the ceiling. Pay particular attention to areas below windows and bathrooms. Water in the wall can be either warmer or cooler than the normal temperature of the construction materials depending on the environmental conditions. The temperature variations display as color differences in the image.
-
Turn on the water supply to the system if the water leak is due to plumbing. If it is a suspected roof leak, the ideal time to use the infrared camera would be during rainfall or within 24 hours of rainfall.
-
Focus on the area of the suspected leak and observe the image and environment. The temperature difference of water is created by the evaporation process. A circular temperature difference in a ceiling is a good indicator of a water leak. A temperature difference below windows, along the bottom of the wall framing is also good evidence of a leak.
-
Confirm the wall system contains moisture by using a moisture meter on the area. Moisture meters work by setting them to the wall type (drywall, plaster etc.) and holding them against the wall. A moisture content of 18% or higher is a concern.
The Drip Cap
- Infrared cameras are a tool used by home inspectors and energy auditors for the detection of water and air leaks.
- They sense and translate the radiation from objects into thermal images.
- The range will need to encompass the lowest and highest natural temperatures plus room for variation.
- Turn on the water supply to the system if the water leak is due to plumbing.
- A temperature difference below windows, along the bottom of the wall framing is also good evidence of a leak.