


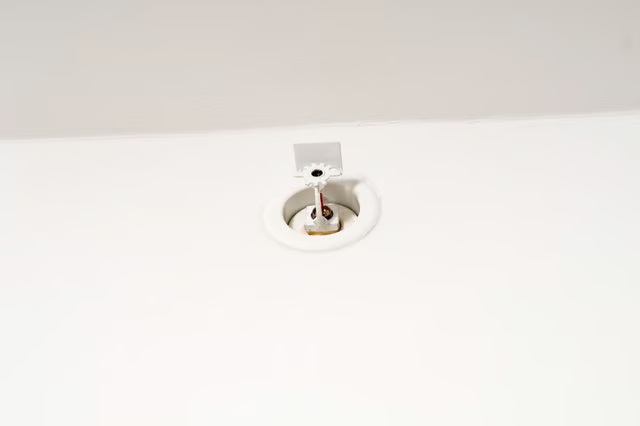
If any of your fire sprinkler heads have become rusted, corroded or greasy take the time to replace them. Although plumbers provide this service, you can tackle this task on your own. Once you have replaced the sprinkler heads, be sure to test the system to verify it is functioning properly.
Things You Will Need
-
Locate water valve connected to fire sprinkler system. This is typically at the main water meter outside your home, but could be in a basement or other interior space if you are in a cold climate. Look for a gate-style valve with a round handle next to your meter. Disconnect water going to the system by turning valve several times in a clockwise direction.
-
Unscrew the cage or cap if your system uses either of these. Remove the sprinkler heads with a wrench and pliers. Turn the head slowly to allow pressure to be released gradually. Use caution as pressure can build up in the pipes. Keep a bucket on hand for any water that may come out.
-
Replace the nipple. Put an anaerobic pipe thread sealant on the threads of the new nipple. Attach the new sprinkler head carefully, without overtightening. Reattach the cage or cap if these are part of your system. Refer to specific instructions in your owner's manual for your sprinkler system.
-
Return to the water valve. Reconnect the water by turning valve several times in a counterclockwise direction.
-
Go to the inspector test valve, typically located on the rear wall of your home or business. Check your system as directed by manufacturer to verify it is functioning properly. Verify the valve is in the open position and sealed. Inspect for any leaks and check the alarm bell to make sure it is unobstructed. Slowly open the test valve. Wait for water to come out and the alarm bell to sound.
The Drip Cap
- A fire sprinkler system is almost like having a firefighter, armed with a hose, in your home or business 24 hours a day.
- Disconnect water going to the system by turning valve several times in a clockwise direction.
- Remove the sprinkler heads with a wrench and pliers.
- Return to the water valve.
- Go to the inspector test valve, typically located on the rear wall of your home or business.
- Check your system as directed by manufacturer to verify it is functioning properly.