
How to Paint a Chain-Link Fence

An old adage may state that good fences make good neighbors, but not everyone wants to completely cut themselves off from the people who surround them and their homes.
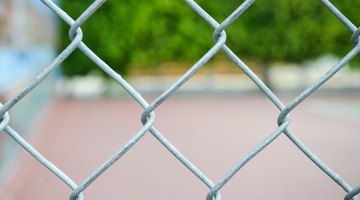
Chain-link fences can provide the solution for this situation, marking boundary lines and keeping belongings, pets and children separated while still allowing face-to-face contact with those outside the fence. Over time these metallic boundaries can rust and fade, and a coat of paint may be in order to keep your yard looking good. A paint roller makes the best tool for painting chain-link installations.
Things You Will Need
- Drop cloths
- Wire brush
- Water
- Soap
- Towel
- Rust Inhibitor
- Paint
- Paint tray
- Paint roller
- Paintbrush
Tip
Avoid using a paint sprayer or air gun to paint a chain-link fence; paint spraying through the gaps in the fence will be wasted and create a mess. Find materials for this project at hardware stores, home improvement stores and paint stores. Read all instructions and warnings on paint products, rust inhibitor and any other product with which you are unfamiliar.
-
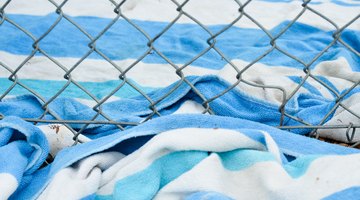
Lay down drop cloths or pieces of cardboard on both sides of the chain-link fence to prevent paint from dripping onto the ground below. This is especially important if the fence is surrounded by grass or plants; chemicals from paint can kill plants.
-
Scrape away any loosened or flaking paint with a wire brush. Brushing the fence can also remove any heavy rust stains or dirt and grime buildup. If necessary, use a small amount of warm, soapy water to clean away dirt or grime; dry the surface immediately to prevent rust.
-
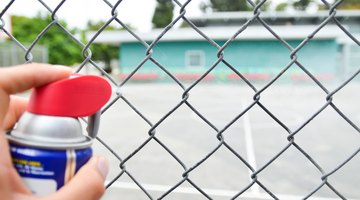
Inspect the fence for rusty areas. Treat rusted sections with a rust inhibitor; such a product often comes in spray cans for easy application. Allow the inhibitor to dry according to product instructions before continuing.
-
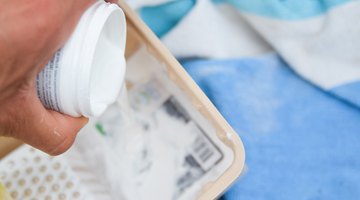
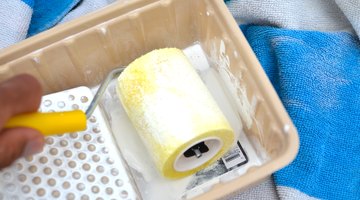
Pour your chosen paint product into a paint tray. Some paint products will come with rust inhibitors included; consider using one of these if your chain-link fence has a lot of rust.
-
Roll your paint roller in the tray to gather paint. Use a long-nap roller (at least ¾-inch nap) to allow for better coverage and to reach into the gaps. Roll the roller on the flat surface of the tray to remove excess paint; overloading the roller with paint will produce more dripping, running and wasted paint.
-
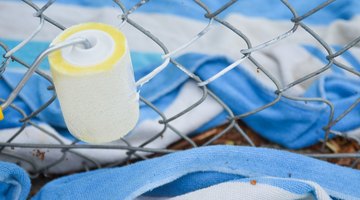
Roll the paint roller on the chain-link fence, covering all metal areas with paint. Roll slowly to reduce paint splatter. Re-wet the roller with paint as necessary.
-
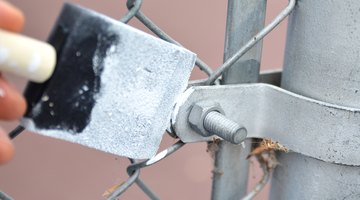
Touch up missed areas, crevices and posts with a paintbrush. Inspect the other side of the fence; the long-nap roller may have covered the other side as well. If not, roll and brush the other side.
-
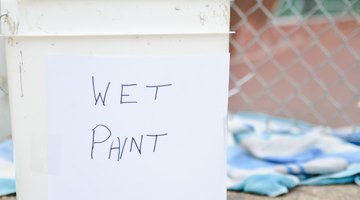
Keep all people and animals away from the fence for at least 24 hours as the paint dries. Your specific paint product may recommend a different drying time; consult product instructions for details.

The Drip Cap
- An old adage may state that good fences make good neighbors, but not everyone wants to completely cut themselves off from the people who surround them and their homes.
- Over time these metallic boundaries can rust and fade, and a coat of paint may be in order to keep your yard looking good.
- If necessary, use a small amount of warm, soapy water to clean away dirt or grime; dry the surface immediately to prevent rust.
- Roll your paint roller in the tray to gather paint.
- Use a long-nap roller (at least ¾-inch nap) to allow for better coverage and to reach into the gaps.
- Roll the paint roller on the chain-link fence, covering all metal areas with paint.
References
Writer Bio
Samantha Volz has been involved in journalistic and informative writing for over eight years. She holds a bachelor's degree in English literature from Lycoming College, Williamsport, Pennsylvania, with a minor in European history. In college she was editor-in-chief of the student newspaper and completed a professional internship with the "Williamsport Sun-Gazette," serving as a full-time reporter. She resides in Horsham, Pennsylvania.
Photo Credits
- Dale Davidson/Demand Media
- Dale Davidson/Demand Media
- Dale Davidson/Demand Media
- Dale Davidson/Demand Media
- Dale Davidson/Demand Media
- Dale Davidson/Demand Media
- Dale Davidson/Demand Media
- Dale Davidson/Demand Media
- Dale Davidson/Demand Media
- Dale Davidson/Demand Media
More Articles