


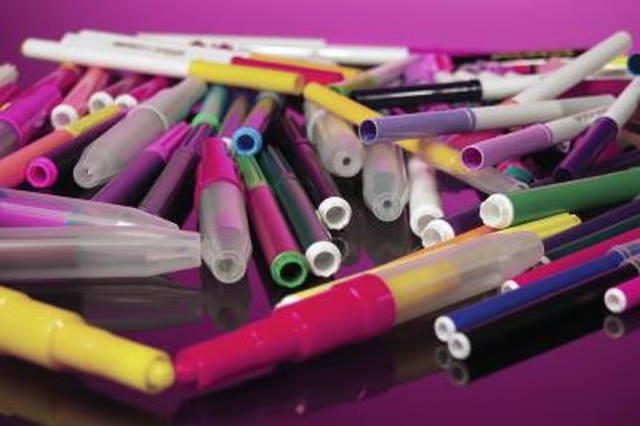
Sharpie offers a brand of permanent markers that you can purchase in a variety of colors and tip widths, which makes them an ideal craft tool. The markers are relatively affordable, and since you can use them on almost any surface -- even wood -- they're practical. Artists may enjoy free-hand drawing designs onto wood, but even if you can't draw, you can transfer designs on wood and create motifs or designs using Sharpies. Sharpies color any wooden object, even unfinished wood. Make Sharpie designs on wooden beads, bangles, decorative wooden bowls, wooden spoons and even furniture.
Decorating Wood With Sharpies
Step 1
Brush away sawdust or other debris from your wooden piece with a lint-free towel.
Step 2
Choose a design based on the shape and size of the wooden object. A large sunflower design fits a wooden bowl better than a bead. Intricate designs like stained glass give you a chance to use more color, but you can also make simple free-hand swirls or stripes.
Step 3
Use carbon paper to transfer your designs onto the wood. Gently place carbon paper on top of the wooden object. Lay the selected design on top of the carbon paper, design-side-up. Trace the design lightly with the pencil. Take care to trace all the lines.
Step 4
Color the design with Sharpies, outlining or filling in as desired. Use fine-tip Sharpies for small areas and wide tips for large areas. Allow the design to dry completely. Spray with a coat of clear varnish if desired.