


Step 1
Sand around the end of the copper pipe that will join to the brass fitting, using 120-grit emery cloth. Keep sanding until the pipe end is shiny. Push a circular wire brush into the brass fitting's copper pipe inlet, turning it several times.
Step 2
Brush a thin layer of soldering paste (called flux) onto both the outside pipe end and the inside of the brass fitting's copper pipe inlet. Push the brass fitting onto the end of the copper pipe.
Step 3
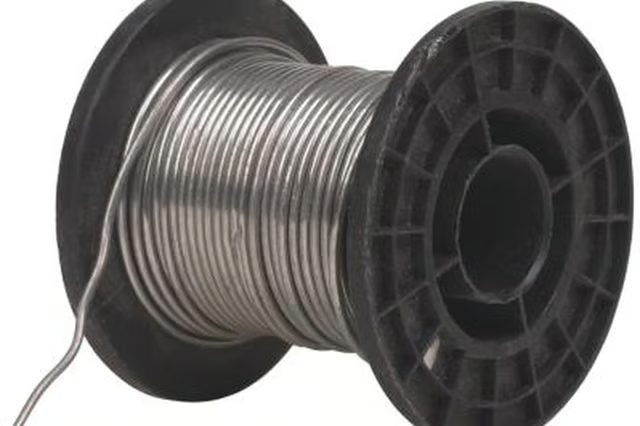
Pull 8 inches of solder from its roll, and bend the last two inches 90 degrees. Turn on a propane torch.
Step 4
Heat all around the seam where the pipe end enters into the brass fitting, using the propane torch. Heat for at least 30 seconds. Touch the tip of the solder to the seam. If the solder easily melts, apply solder all around the seam. If the solder doesn't melt, keep applying heat and test every 15 seconds to see if the solder melts.
Step 5
Wipe away all excess solder and flux residue from the seam with a rag. Wait for the brass fitting to fully cool.
Step 6
Wrap white sealing tape twice clockwise around the male threaded end of the brass fitting. If the fitting has a female threaded end, wrap the tape around the male threaded end of the appliance it will attach to. Screw the appliance onto the threaded end of the brass fitting. Tighten the appliance to the fitting with pump pliers.