


Step 1
Cut the pine boards into the six pieces that will make up your ice box. Measure the sections and use a saw -- electrical or manual -- to cut four 36-inch by 12-inch pieces and two 12-inch by 12-inch squares.
Step 2
Sand the pieces to remove dust and splinters. Begin with coarse sandpaper and move on to increasingly fine sandpaper to achieve the smoothest finish.
Step 3
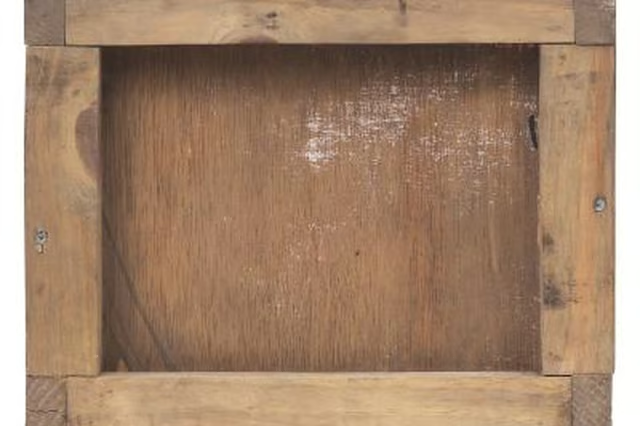
Fasten the boards together into a box by aligning the side -- 36 by 12 -- boards along the base -- 12 by 12. Place two side boards on opposite ends flush against the base and drill one screw in every 6 inches to hold the two secure. Hold the remaining two sides flush against the base and the rim of the two other sides and screw the boards together to shape a box with an open top.
Step 4
Sand the edges of the box to remove any splinters.
Step 5
Place the remaining top board over the open lid. Align the board flush against the opening of the box and screw one of the hinges about 1 foot from the left side of one of the edges. Screw the second hinge about 1 foot from the right side of the same edge. Test that the hinges allow the lid to open and close and then tighten the screws.
Step 6
Drill two 1/2-inch holes into the top of the box, about 4 inches apart and in the center. Run a piece of rope through the holes from the top and tie off the ends so that the rope will serve as a handle.
Step 7
Line the inside of the box with two or three heavy-duty trash bags, fastening the bags to the box with thumbtacks at the corner. Cut strips of foam lining to the dimensions of each of the interior panels and attach them to the sides with thumbtacks over the trash bags. Add two more layers of trash bag lining over the foam to add water protection and allow you to easily replace the outer lining in the case of punctures or wear.
Step 8
Stain the outside of your box with an attractive wood stain to add an antique touch. Choose a stain color you like and add multiple coats with a paint brush, allowing the boards to dry for a few hours between coats.
Step 9
Fill the ice box with ice and close tightly to preserve the insulation and interior cooling.