


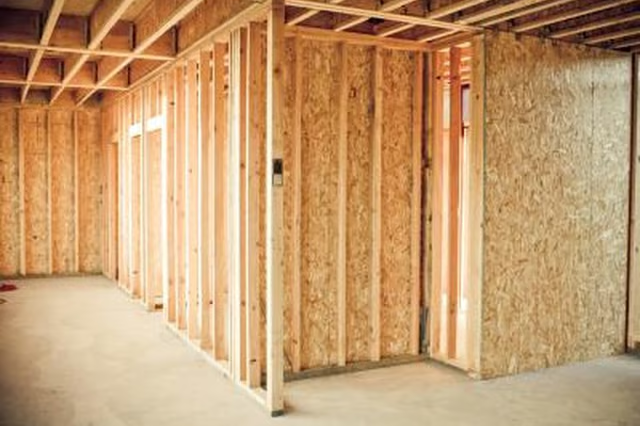
Middle Wall Nailers
Step 1
Measure the gap between the two studs where the adjoining wall will meet the existing wall in the middle between two studs. Measure and mark a 2-by-4 to the gap distance. Cut five 2-by-4 pieces on the miter saw to the measured gap width. These boards are called nailers.
Step 2
Mark the existing wall at 2 feet, 4 feet and 6 feet from the floor where the second wall will butt up against it. Place a 2-inch by 4-inch board between the two studs with the wide face vertical and flush with the front of the studs at the the bottom of the wall. Hammer two nails through each stud into the end of the 2-by-4. Repeat at the 2-foot, 4-foot and 6-foot marks, and at the top of the wall.
Step 3
Set the adjoining wall frame in place and butt it up against the 2-by-4 nailers you installed in Step 2. Adjust the wall for plumb with a level. Nail the end stud of the adjoining wall to the nailers, using two 16d nails at each nailer position.
Ends in Corner
Step 1
Plan corners to accommodate both walls. The end of the first wall extends alongside the end of the second wall, such that the edge of the stud on the first wall rests flat against the face of the stud on the second wall.
Step 2
Align the outside face of the end stud on the first wall flush with the edge of the end stud on the second wall. Nail through the face of the stud on the second wall into the edge of the stud on the first wall, with one nail placed every 10 to 12 inches from top to bottom.
Step 3
Hammer two nails through the face of the stud on the second wall at an angle into the bottom plate of the first wall. Repeat at the top of the wall.
Step 4
Measure and cut a 1-by-6 piece of lumber to fit between the top and bottom plates of the first wall. Place the 1-by-6 board against the face of the second wall end stud, between the top and bottom plates of the first wall, with the edge against the face of the end stud on the first wall. Nail the board in place with a 5d nail placed every 12 inches. This board provides a place to nail or screw the drywall to.