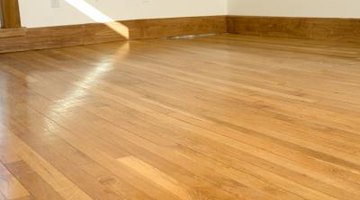
How to Install Hardwood Floors at a 45 Degree Angle
Hardwood flooring is typically installed parallel to a wall; installing the floor at a 45 degree angle can be a tricky procedure but one that will award you with an unusual and eye-catching floor that is the focal point of the room. When installing a hardwood floor on an angle, the most important thing to keep in mind is that the rows still need to be straight and true for the install to be effective.

Step 1
Start in a corner and measure and mark the subfloor at two foot intervals from the corner along both walls.
Step 2
Mark the subfloor with a chalk line, matching each two foot mark from wall to wall. This will give you a 45 degree pattern across the first half of the room; repeat the process across the second half of the room.
Step 3
Start your hardwood install in the corner, cutting the wall ends of each row at a 45 degree angle. Note that the beginning triangle will be too small to install; this piece will be cut to fit and nailed in when you finish the room.
Step 4
Continue with the install as normal, taking care to align the installed rows with the two foot chalk lines.
Step 5
Reverse the angle of the 45 degree end cuts when you reach the midway point of the room; note that you will be able to use some of the scraps from the first half room cuts for starting and ending pieces the same as if you were installing a parallel floor.
Step 6
Finish the ending corner by reversing the starting process, cutting a triangle to nail in each corner when you finish the trim of the floor.
Writer Bio
Robin Hewitt began her writing career in 2008. She is the coauthor of several books, including "The Joyous Gift of Grandparenting," which covers the nutritional and fitness needs of both grandchildren and grandparents.
Photo Credits
- Jupiterimages/Photos.com/Getty Images
More Articles


