


Step 1
Turn off the main water line leading to the house and turn on the spigot to drain the pipe of any standing water. Allow several minutes for the water to completely drain; once the dripping stops, you’re ready to get down to business of gaining access to the pipe behind the faucet.
Step 2
Pick a point that’s roughly four inches or so from the faucet and use the hammer to make a strike point with the chisel tip. This creates a visual guideline for you to follow to creating a perimeter around the faucet. Hammer another strike point above or below the first then continue in an arc, working clockwise around the faucet until you’ve a made a noticeable groove that circles around the faucet.
Step 3
Go back and retrace the groove, this time hammering a little harder with the chisel to split the brickwork and mortar joints as much as possible. As the masonry starts to crack and crumble, remove bits and pieces as you work. Eventually you will have worn down the masonry enough to pull away loosened brick and mortar with your hands.
Step 4
Use a pipe wrench to remove the faucet from the pipe if the faucet itself was the issue at hand. If the underlying pipe is what you need to address, you may need to chisel out a larger circle that allows you to reach your arms back behind the faucet to the pipe fitting. Regardless, after you’ve successfully replaced or repaired the pipe, fittings or faucet, now you need to do the task of replacing the brickwork.
Step 5
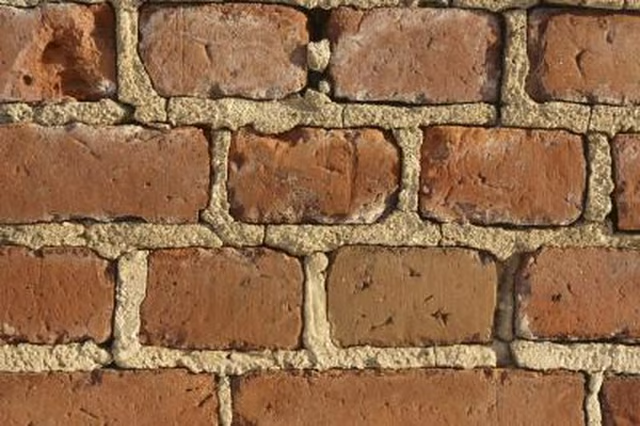
Look at the brickwork around the faucet and count how many rows of bricks – known as “courses” in masonry-speak – to determine how many bricks you need to replace the wall. Estimate how many you’ll need and then mix the quick drying cement as directed by the package’s instructions. For half bricks, also known as a “brickbats,” simply strike the claw end of the hammer in the center of a brick to chip it in two.
Step 6
Chisel away any dried mortar in the joints of the existing brickwork to prep the area then use a masonry trowel to scrape cement onto the ends of the brick pieces. Slide the pieces in place and scrape away excess cement. Continue working until all bricks are replaced and fill any gaps with cement before allowing your work to dry and turning the water main back on.