How to Install Brick Veneer Around a Fireplace
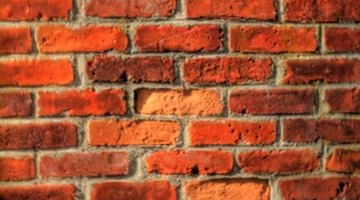
Brick fireplace surrounds add charm and warmth to your fireplace. Smaller, thinner tiles made to mimic brick, called brick veneer, are a great way to get the effect of brick without rebuilding the fireplace. Brick veneer is roughly 1/3 the thickness of brick, making it light enough to install on most interior walls.

-
Remove mantels and paneling from the wall. Make sure that the wall is sturdy and even. If you have markedly uneven portions of the wall, hire a contractor to float the wall until it is level.
-
Mark your walls as a guide for the brick veneer. Use a tape measure and a pencil to make a line every 2 5/8 inches for one row or 5¼ inches for every two rows. How closely you space the lines depends on how much guidance you need as you work.
-
Spread thinset on a 4- to 6-foot section of the wall with a trowel. Work in 4- to 6-foot sections at one time so the thinset won't dry before you can apply the veneer. Press the veneer into the thinset. Use spacers between brick veneers to keep them evenly spaced.
-
Cut edge pieces with a tile cutter, or a wet saw if you are working with a large area. A wet saw will speed the cutting process.
-
Set the second course of bricks in the same manner as the first course. Start with a hole brick that is offset so that the midpoint of the brick lines up with seam of two bricks below. Use spacers and add bricks to finish the course. Add courses of brick until your fireplace wall is covered. Allow the brick to dry overnight.
-
Apply grout between the veneers, using a pointed trowel. Sanded tile grout will most closely resemble real mortar. Using a pointed trowel forces the grout between the tiles and will reduce the amount of grout to clean off the face of each brick.
-
Wipe off all grout from the bricks. Clean the sponge and water often. Allow the grout to dry.
Tips
- Although the bricks are referred to as brick veneer, they are constructed from the same material as real brick. If you need to hang a mantel or any other decorative items from your brick fireplace wall, use a masonry drill bit rather than your regular bit to drill holes in the wall.
Writer Bio
Lisa East Hunter is a consultant and freelance writer in Phoenix. Her background in marketing and technology led her to explore all avenues of writing. She is currently dividing her time between freelance writing and her consulting business. Hunter has a Bachelor of Science in management information systems and marketing.
Photo Credits
- BRICK WALL image by brelsbil from Fotolia.com
More Articles


