
How to Miter a Fascia Board

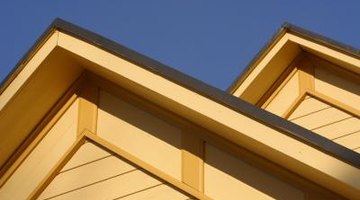
Fascia boards are wide, flat boards that install vertically under roof eaves. The fascia board enhances the appearance of the roof line and it help hold the soffits to the home, which are located perpendicular to and under the fascia. Like many other wood parts of the roof line, the fascia requires miter cuts at the corners. These are 45-degree angle cuts that allow the board to fit flush with the fascia on an adjoining side of the home or with the rafters.
Step 1
Set up two ladders at either end of the roof eaves, ensuring that they are both on steady, even areas of soil.
Step 2
Pick up a fascia board and carry it while climbing up one of the ladders. Ask another person to carry the other end of the fascia board and climb up the other ladder.
Step 3
Turn the board on its side so the flat portion faces you. Push it up under the roof eaves over the exposed rafters. Push the fascia board all the way flush to one end of the roof.
Step 4
Examine your end of the fascia board where it extends over the end of the last rafter. Draw a pencil line down along the board at the location of the rafter to identify where you must cut it.
Step 5
Climb carefully down the ladder and lay the fascia board on a work table. Set a miter box on the work table and slide the fascia board into it until the pencil mark aligns with the center mark in the box.
Step 6
Look at the top or side of the box where the slits are labeled with degree numbers. Locate the slit that is labeled 45 degrees and insert a miter saw into it. Cut through the fascia using the saw and then remove the board from the miter box. The fascia edge is now a perfect 45-degree angled miter.
References
Tips
- Miters are required on all ends of the fascia that will meet other boards, such as at the corners.
- You can also create miter corners using a circular saw and holding it at a 45-degree angle
Writer Bio
Kimberly Johnson is a freelance writer whose articles have appeared in various online publications including eHow, Suite101 and Examiner. She has a degree in journalism from the University of Georgia and began writing professionally in 2001.
Photo Credits
- Hemera Technologies/AbleStock.com/Getty Images
More Articles