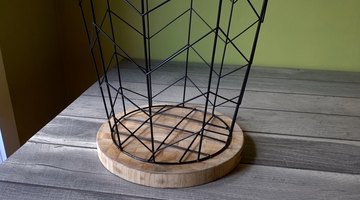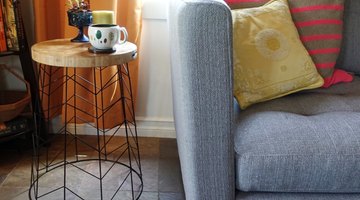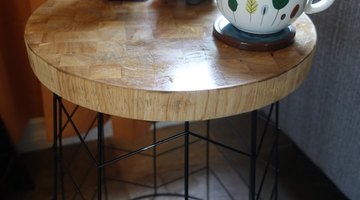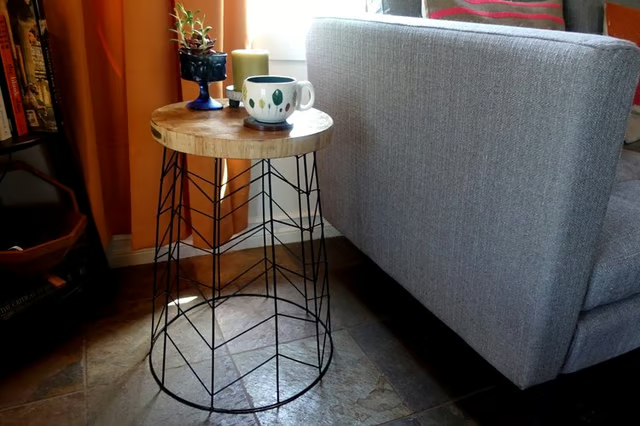
Calling all repurpose-aholics: This side table project gave new life to not just one, but two household items that I was this close to putting into the donation pile -- a wire laundry hamper and an old chopping board. And what a chic side table it turned out to be! Similar tables are sold by CB2, Ferm Living, West Elm, and Pottery Barn, but you can make your own using a wire basket, hamper, or waste bin (affordable ones are available online if you don't have one), and an old round chopping board. Of course, you can also cut out your own wood circle using a jigsaw, buy a round wood panel, or use a large wood plaque. Let the repurposing begin!
Things You Will Need
-
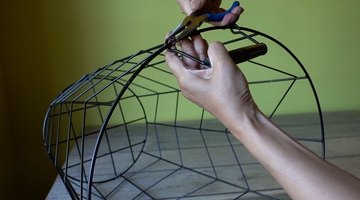
If your wire basket/bin has handles, feet, or casters, remove them by using a pair of pliers (as shown below) and/or a hack saw if the parts are soldered or welded on. Usually, hampers are the only wire receptacles that come with these extra parts, but many wire storage and waste baskets don't have them. The particular one I used here had handles that I removed with pliers as well as ball feet at the base which I, relatively easily, removed with a hacksaw (not shown in this tutorial).
-
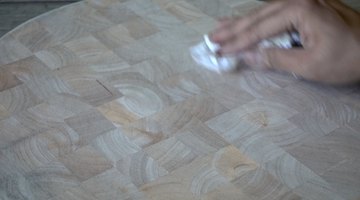
Sand your cutting board with a sanding block or electric sander to remove scratches and resurface the wood. Since I was going for that weathered industrial look, I wasn't concerned with removing every single little scratch. If you'd like a more polished appearance, I recommend using an electric sander.
-
Once done, clean thoroughly to remove all dust.
-
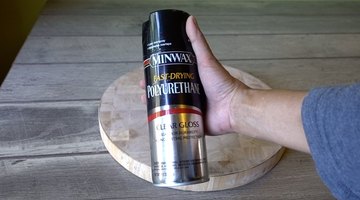
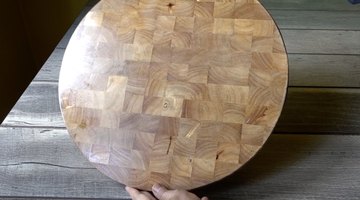
The cutting board that I used had a lovely end grain surface design which I wanted to preserve. So, to bring out the natural grain, I simply used a semi-gloss polyurethane spray as a finish. When using polyurethane, always work outdoors or in a well-ventilated area.
-
It took three light coats to achieve the look I was going for.
-
With your tabletop upside-down on your work surface, place the basket on top and centered as shown.
-
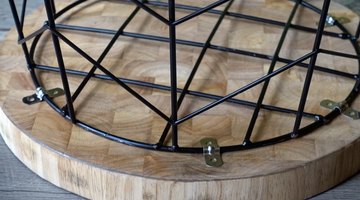
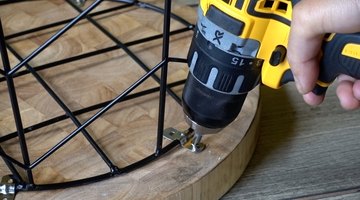
Use the conduit straps, screws, and screwdriver to securely attach the wire basket to the tabletop.
-
As you can see here, it's important to find conduit straps that fit snugly around the wire of your particular basket so that your tabletop won't jiggle around on your base. The conduit straps shown here are for a 5mm diameter wire. I used six straps equally spaced around the circumference of the basket where it connected with the tabletop. Use more or less depending on the size and shape of your tabletop and base.
-
Turn your table right side up and you're done!
-
The black paint on my used wire basket had begun to flake, but I chose to leave it alone as it suited the industrial aesthetic I was aiming for.
-
There you have it! In just a few simple steps, you can have a side table you can proudly display in your living room. And unless you spill the beans, I'm willing to bet that none of your guests will ever guess that your incredible "new" piece is a dual upcycle. Rest assured, your secret will be safe with me.
Remove Excess Hardware, If Any
Sand

Finish
Attach Tabletop to Base