


Things You Will Need
A valve installed on the pipe that supplies water to a building, stabilizes water pressure throughout the home to keep the pressure to the desired level. This valve also keeps water pressure from rising to a dangerous level, which could harm the plumbing.
-
Contact your local or county building administration office to ask about local and state codes regarding the addition of a pressure regulator valve. You may be required to purchase a building permit, or have the installation inspected in some localities. Certain states have stringent regulations for such plumbing operations while others have none. Contact the utility company that supplies your water to enquire of any considerations they may have for installing pressure reducer valves.
-
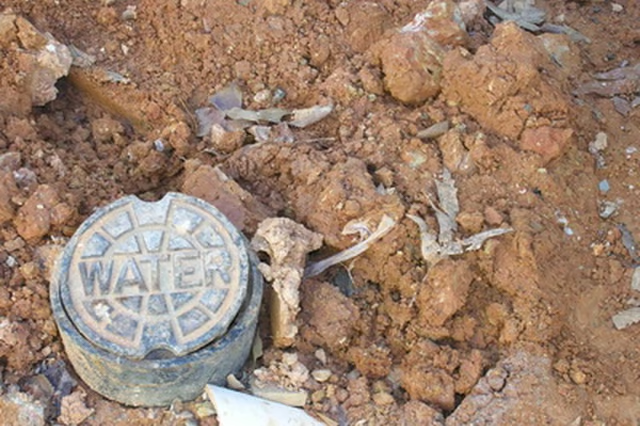
Open the cover to your meter housing and take note of the pipe size and material. The meter is usually contained within a small metal box buried in the ground close to the street. Purchase a pressure reducing valve with the proper size fittings that are metal for metal pipes or plastic for plastic pipes.
-
Turn off the water heater by shutting off the breaker switch for an electric unit, or by turning the gas flow dial to the "Pilot" setting on a gas water heater. Shut off the water supply to the house with the valve in the meter box. Bleed off all water pressure by turning on the water at every hose bib sink and tub faucet.
-
Wrap Teflon tape around the exposed threads for the pressure regulator installation. Twist the valve onto the pipe threads with the direction arrow pointing away from the meter and toward the house. Tighten the joint firmly by turning the sleeve nut with a strap wrench 1/4 rotation.
-
Place Teflon tape around the threads between the water pressure reducer and the pressure gauge. Twist the gauge on with the flow direction running from the meter to the house and tighten with a strap wrench. Connect the water supply pipe for the house to the other side of the gauge.
-
Close all the valves in the house and turn on the water at the meter. Turn the water heater back on. Turn the water supply back on at the meter. Check the pressure at the pressure gauge. Turn the pressure set screw on the valve with a slotted screwdriver to get the reading on the gauge at a consistent water pressure between 50 and 70 pounds per square inch (psi). Test the pressure with regular water use and adjust to your preferred setting.