


Install the 220-Volt Branch Circuit
Step 1
Turn off the main circuit breaker and remove the circuit breaker panel covers. Install a two-pole, 240-volt, 50-ampere breaker for an electric range or for a built-in cook top and wall oven combination. Install a two-pole, 240-volt, 30-ampere breaker for a clothes dryer circuit. Depending on the type of panel you have, the breaker may plug in or it may be secured to the panel's "buss bars" by two screws.
Step 2
Remove one of the knockouts from the side of the panel box adjacent to where you installed the breaker. Knock it inward with a screwdriver and the hammer. Wiggle it back and forth with the lineman's pliers until it snaps out. Install a cable connector in the hole and secure in place by tightening its lock nut tightly against the inside of the panel.
Step 3
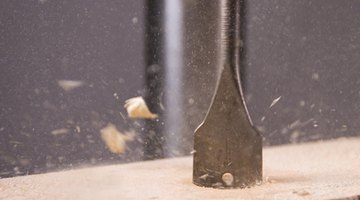
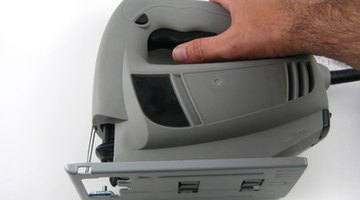
Use the 4-inch square box as a template to outline the cutout for the junction box where the appliance is to be located. Use the electronic stud finder to make sure you aren't drilling or cutting into a wall stud. Drill 3/8-inch holes in the corners of the cutout, then remove the cutout with the portable jigsaw.
Step 4
Run the cable from the breaker panel to the wall opening for the 4-inch square box. Run 10/3 w/Gr. copper cable for a 30-ampere branch circuit or 6/3 w/Gr. copper cable for a 50-ampere branch circuit. Route the cable along the sides of framing members or through holes drilled through the framing members. Drill holes so that the near edge of the holes is at least 1 ¼ inches back from the nearest edge of the framing members. Position cable when run along the side of framing members so it's at least 1 ¼ inches from the nearest edge. These distances are code requirements. Secure the cable to the framing members with staples at intervals not exceeding 48 inches.
Step 5
Cut the cable long enough so that it extends at least 10 to 12 inches into the room and will extend to the bottom of the circuit breaker panel.
Step 6
Slide the cable through the cable connector on the side of the breaker panel and secure in place by tightening the clamping screws. Remove the outer jacket of the cable with the razor knife.
Step 7
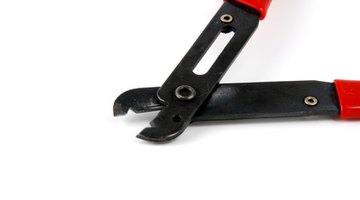
Route the white wire and the bare copper wire to the bottom of the panel. Cut off the excess wire to keep them neat. Secure the bare copper grounding wire under a screw on the panel's ground bar. Strip ¾ inches of insulation from the white wire and secure it under a screw on the neutral bar.
Step 8
Attach the red and black circuit wires to the screws on the circuit breaker. Replace the breaker panel cover. Secure the new breaker in the off position. Turn the main breaker back on.
Installing Major Appliance Receptacles
Step 1
Insert the cable into the square junction box 6 to 8 inches. Secure the box in the wall by tightening its mounting screws.
Step 2
Attach the receptacle mounting ring to the box with the 8-32 screws that came with the box. Remove the outer jacket from the cable. Strip ¾ inches of insulation from the ends of the wires.
Step 3
Secure the red and black wires under the "X" and "Y" terminals. It doesn't matter which wire goes to which terminal. Connect the white wire to the "Z" terminal. Connect the bare wire to the "Grn." terminal with the green screw.
Step 4
Secure the receptacle to its mounting ring. Install the cover. Plug in the appliance. Turn on the circuit breaker.
Hard-Wiring an Appliance
Step 1
Install the cable in the box and install the box as you did in Step 1 of Section 2. Remove the cable's outer jacket and strip ¾ inch of insulation from the wires.
Step 2
Remove the knockout from the center of the blank cover and insert a cable connector. Secure the appliance whip, the metal flex that came attached to the appliance, in the cable connector.
Step 3
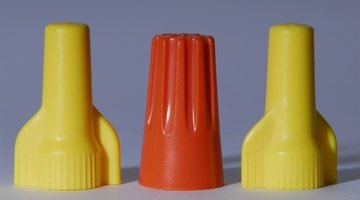
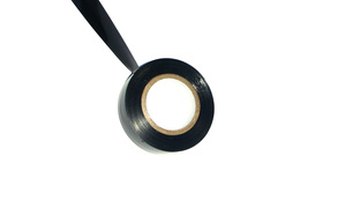
Splice the appliance whip wires to the branch circuit wires–red to red, black to black, white to white and bare copper to bare copper. Hold each pair of wires side by side and twist together in a right-hand twist with the lineman's pliers. Complete each splice by screwing on a wire nut and taping it in place.
Step 4
Secure the cover to the box. Turn on the circuit breaker.