


Step 1
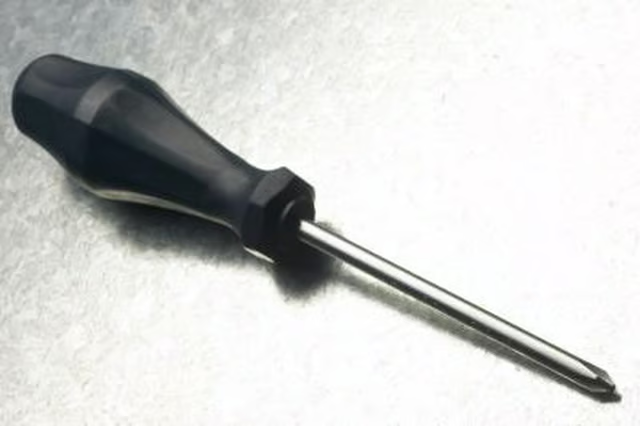
Remove the screws securing the terminal cover plate to the back of the Neptune dryer with a Phillips-head screwdriver. The terminal cover plate is above where the power cord enters the back of the dryer. Loosen the two screws that secure the strain relief clamp holding the power cord to the dryer, using the Phillips-head screwdriver.
Step 2
Turn the nuts on the terminal block securing the dryer cord wires to the block counterclockwise with a nut driver. Pull the wires away from the terminal block, and pull the power cord out of the dryer.
Step 3
Remove the green screw securing one end of flat ground strap to the dryer cabinet base with the nut driver, if changing a three-prong plug to a four-prong plug. Fold the ground strap in half, and slide the end over the same terminal rod as the other end of the strap. If converting a four-prong to a three-prong, secure one end of the ground strap to the dryer cabinet with the green screw. The green screw is to the left of the terminal block on the cabinet.
Step 4
Insert the new power cord through the dryer until the individual wires reach the terminal block. Tighten the strain relief clamp screws to secure the power cord to the dryer. Place the end of the white wire over the center silver terminal on the terminal block. This is the same terminal the ground strap attaches to. Thread the nut over the terminal, and tighten the nut with the nut driver to secure the wire.
Step 5
Attach the black and red wires to each end terminal on the terminal block. Secure the wires with the retaining nuts. If you are installing a four-prong plug, locate the green screw on the dryer cabinet. Remove the screw with a nut driver and place the end of the green wire around the screw hole. Thread the screw back into the hole, and tighten with the nut driver to secure the wire.
Step 6
Place the terminal cover plate back over the dryer, and secure with the retaining screws.