
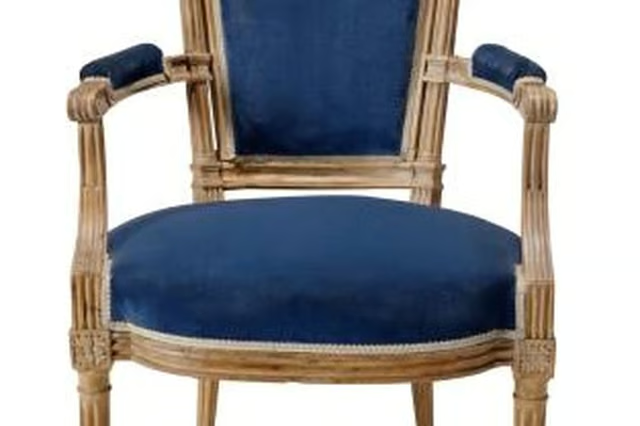


Step 1
Trim any excess fabric hanging over the wood frame of the chair. Cut along the wood frame as close to the staples or tacks as possible.
Step 2
Cut the gimp into strips 1 inch longer than the chair sections you’re covering, starting with the seat. Depending on the seat design, you may need one long strip that wraps around the seat and over the tops of the chair legs. Other chairs have legs or frames that divide the seat into sections and require individual gimp strips for each section.
Step 3
Apply a 3-inch bead of glue to one of the gimp strips with a hot glue gun, approximately 1 inch from the end of the strip. Starting a half-inch from the end of the chair-seat section, press the glue-covered portion of the gimp onto the chair. Center the gimp over the staples or tacks as you work, and follow the contours of the wood and fabric. Continue gluing and affixing the gimp in 3-inch increments until you’re 1 inch from the end of the section, or until you reach a sharp turn or chair leg.
Step 4
Turn the gimp back on itself when you reach the corner, before a sharp turn or a curving chair leg. Tap a gimp pin through both layers of gimp and into the wood with a narrow-tipped upholstery hammer. With the corner secured, turn the right side of the gimp in the new direction and hot glue the overlap at the corner into a mitered position. Continue attaching the gimp in the new direction, working in 3-inch glued increments until you’re 1 inch from the end of the section, or until you reach another turn. Skip this step for chairs with straight sections only.
Step 5
Finish each gimp section by turning the unglued ends under by 1/2 inch. Apply hot glue to the turned-under ends and press them against the chair to attach them. For gimp that wraps all the way around, turn both ends under a half inch, and then glue and abut the ends. For chairs with upholstered arms and backs, repeat the process for each upholstered area.