How to Grout Saltillo Tile

How to Patch Holes in Mexican Tile
Written By
Paul Massey
Paul Massey
Published: Jul 3, 2010
Updated: Nov 20, 2021
1 minute read
  1. Clean all of the grout joints between the saltillo tiles using a small broom or vacuum to remove any dirt or debris.

  2. Mix a quantity of grout mix following the manufacturer’s specifications for the area to be covered.

  3. Place approximately three to four cups of the grout mixture on the tile’s surface along the grout joint, then press the grout into the gaps between the tiles by pushing the mixture back and forth across the grout joints at about a 45-degree angle with a sponge grout trowel. Fill the joints to where the grout mixture is packed solid and even with the top edges of the saltillo tiles.

  4. Continue the grout application method in Step 3 to fill all of the grout joints.

  5. Use a soft sponge, rinsed frequently with warm water, to smooth the grout and clean the cement haze from the saltillo tile’s surfaces. Allow the grouted joints to cure for a minimum of 48 hours before applying grout sealer.

Tips

Fill a small bucket with clean water and use a sponge to moisten the joints just prior to grouting. Saltillo tile is very porous and keeping the joints moist as the grout is applied will help prevent the tiles from pulling the moisture out of the grout, allowing it to cure more slowly and thoroughly.

Warnings

Saltillo tiles must be thoroughly sealed with a penetrating sealer prior to beginning the grouting procedure to protect the highly porous tile surface from being stained by the grout mixture.

Photo Credits

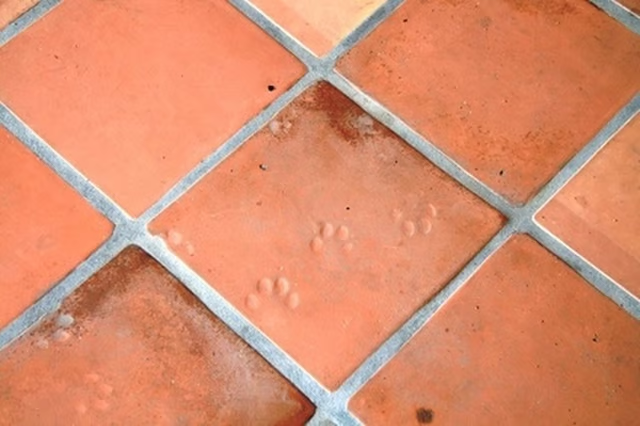
Footprints in Tile image by bnstrong from Fotolia.com

Paul Massey

Paul Massey has been writing since 2009, drawing on a 35-year career in the construction industry. His experience includes 15 years as a general building contractor specializing in architectural design, custom homes, commercial development…

Sponsored
HomeSteady Logo

HomeSteady is the ultimate guide for all your household needs, from cleaning and HVAC to electrical, DIY and maintenance.

Property of TechnologyAdvice. © 2026 TechnologyAdvice. All Rights Reserved

Advertiser Disclosure: Some of the products that appear on this site are from companies from which TechnologyAdvice receives compensation. This compensation may impact how and where products appear on this site including, for example, the order in which they appear. TechnologyAdvice does not include all companies or all types of products available in the marketplace.