

-
Review the directions supplied. If your plug came in a plastic bag, it likely has instructions included. Be sure you understand them.
-
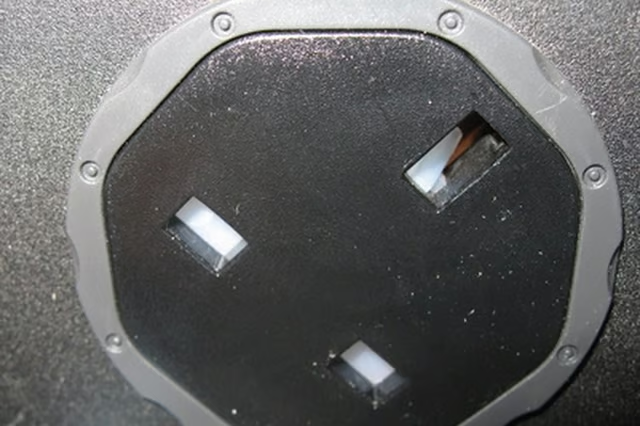
Identify the prongs. If you have wired a 110-volt fixture or plug, then you are aware that the different prongs connect to different colors of wires. The same principle holds true for 220-volt plugs, and this is very important to keep from tripping the circuit breaker. A three-prong plug will connect to two colored wires that each supply 110 volts and a bare copper wire which is the ground. One of these colored wires will be black, while the other one should be red, white, or blue. The four-prong plugs connect to a black and a red wire that each supply 110 volts, a white neutral wire, and a bare copper ground wire.
-
Strip the insulation jackets. Using the wire strippers, remove about 1/2 inch of insulation from each wire in the bundle.
-
Connect the wires to the prongs. Feed the wire bundle in to the open-faced plug assembly. Using either pliers or a screwdriver, connect each colored wire to the respective prong.
-
Assemble the plug. Place the cap piece over the other half with the wired prongs. Place the supplied screw into the screw hole and tighten it until the cap is snug and will not come loose. Hand tightening is sufficient.
Articles
View All Hover to load posts
Articles
View All Hover to load posts
Articles
View All Hover to load posts
Articles
View All Hover to load posts
Articles
View All Hover to load posts
Articles
View All Hover to load posts
Articles
View All Hover to load posts
Articles
View All Hover to load posts
Articles
View All Hover to load posts
