How to Remove a 1-Piece Shower Enclosure
Bathroom remodeling projects often include replacing the tub or shower with one with a new and more updated look. The first step of this process is the removal of the old enclosure. While enclosures do vary depending on the manufacturer, the basic procedure for removing the enclosure is consistent and accomplishable by do-it-yourselfers.

Step 1
Shut off the water supply to the shower. This is usually a cold and hot water supply with valves in a closet or under a plumbing access panel. Remove the shower door and any decorative trim from the shower enclosure.
Step 2
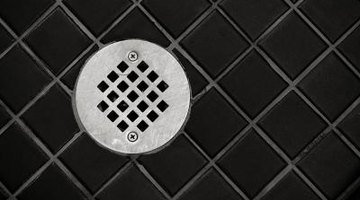
Disconnect all plumbing from the shower. Remove the drain strainer in the shower base by removing the screw through the center. Disconnect the drain from the household plumbing by loosening the locknut below the base. You will need to access this from the basement or crawl space. Remove the water supply controls from the interior of the shower. Look for screws through the handles and loosen them. Remove the shower head by loosening the set screw.
Step 3
Pry the shower enclosure from the wall. Enclosures are commonly held in place with construction adhesives, in effect gluing the enclosure to the wall. Careful work with a pry bar may salvage the drywall backing. However in most cases, replacement of the drywall is necessary.
Step 4
Remove the shower enclosure from the bathroom. Because many one-piece shower enclosures are installed early in the home construction process when the workspace is more open, they often will not fit through doors. Cut the shower enclosure into pieces that will fit.
References
Tips
- Removal of only the shower enclosure walls, rather than also the shower base or tub, requires some minor changes to the procedure. The drain removal steps can be skipped. Protect the base or tub from damage with a tarp or blanket during the removal of the enclosure walls.
Writer Bio
Keith Allen, a 1979 graduate of Valley City State College, has worked at a variety of jobs including computer operator, medical clinic manager, radio talk show host and potato sorter. For over five years he has worked as a newspaper reporter and historic researcher. His works have appeared in regional newspapers in North Dakota and in "North Dakota Horizons" and "Cowboys and Indians" magazines.
Photo Credits
- Jupiterimages/Photos.com/Getty Images
More Articles


