
How to Replace a Wall-Mounted Phone Jack

Telephone jacks need to be replaced occasionally, usually because they have become outdated, discolored or damaged. Replacing a wall mount phone jack is a simple procedure. Doing it yourself will save you money. While there are different configurations, the standard home phone jack consists of four colored wires for two phone lines.
-
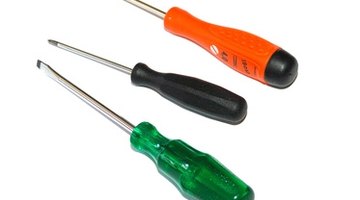
Unplug the telephone line from the jack. Use the proper screwdriver to remove the screw of the faceplate from the old jack. Remove the cover.
-
Remove the center-mounting screw of the old jack from the wall using a screwdriver.
-
Locate colored wires attached to the terminals on the inside plate of the old jack. Depending on when the wiring was installed, the colors will be black, red, green and yellow, or white with an orange stripe, blue with a white stripe, white with a blue stripe and orange with a white stripe.
-
Disconnect the wires from the terminals of the old jack, using a screwdriver.
-
Attach the colored wires to the matching color-coded terminals of new phone jack. Be sure sure to tighten the screws firmly.
-
Attach the new jack to the wall with the screw from the old jack. Attach the new faceplate with the new screw. Plug the phone line into the jack and test the phone.
References
Tips
- Before disconnecting the wires from the old jack make sure the terminals on the new jack are color coded. If they are not, use the old jack as a reference, by placing the new jack in the same position as the old jack. Use a felt tip pen to mark the locations of each colored wire on the inside of the new jack.
- If the old jack is working and you are simple updating try just replacing the faceplate first. It just might fit and save you some effort.
- Before purchasing a new phone jack remove the faceplate from the old jack to determine if you have a four or six wire system. The procedure is the same for a six wire system. Just be sure to match the colored wires to the proper terminals.
Warnings
- Having a dial tone does necessarily mean the phone will ring when you receive a call. Place both outgoing and incoming calls to be sure the new connections are correct.
Photo Credits
- screwdrivers image by apeschi from Fotolia.com
More Articles