


Step 1
Select your bathtub. This is the first step because, to frame the space for the bathtub in later steps, you must know its exact dimensions. Roman bathtubs are often made of fiberglass, and come as one solid piece. For this reason, make sure you'll be able to get the tub through doors, hallways and into your bathroom.
Step 2
Prepare the plumbing. For the purpose of this project, we will assume you're working in a bathroom that already has running water, and that you are installing the Roman tub in the same site as a traditional tub was previously installed. Turn off the water and cap any exposed pipes. Since you're working at the location of a pre-existing tub, we'll assume faucet and drainage pipes are already in place. Make sure you keep the faucet lines visible throughout the project so they don't get lost in the framing.
Step 3
Frame the supports for the tub using two-by-fours. These are the wooden beams the fiberglass tub will rest in and on. The exact dimensions of the framing will depend on the size of your Roman tub. Aim for a snug fit. Make sure you line up the tub's drain with the existing drainage system in your bathroom, otherwise you'll have to take the additional step of relocating the drain. This is an incredibly time-consuming step, and requires an even greater degree of plumbing and carpentry expertise, so get professional help if necessary.
Step 4
Add a waterproof layer between the framing and the tub. This is an optional step, but one that could prevent mold or water damage down the line.
Step 5
Install the P-trap. The P-trap should be level with the floor and centered underneath the drain. It will ultimately connect to the drainpipe.
Step 6
Insert the bathtub. Make sure the Roman tub fits securely into the hole in the framing, but that the wood does not push, scratch or dent the fiberglass. Plumbing-Basics.com reminds handymen to use a level frequently to check that the bathtub is laying flat. If it isn't, use plastic shims to level it. Use galvanized nails to secure the tub's nailing flange to the framing. Some tubs have nail holes, while others include installation clips to further secure the tub to the framing.
Step 7
Connect the drain and overflow pipes underneath the tub. Remember, once you close in the framing, you won't be able to access the tub's underside. You may want to test the seal on the drain by dumping a bucket or two of water into the tub, making sure there are no leaks.
Step 8
Close in the framing surrounding the tub. Use concrete backerboard or water-resistant drywall instead of standard drywall. This will add an extra layer of leakage and mold protection.
Step 9
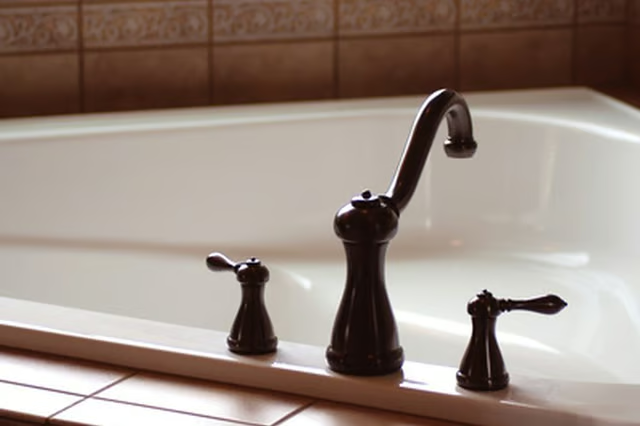
Use a jigsaw to cut holes for the faucet. Most Roman tub faucets have three elements: a spigot, hot water and cold water. Depending on the style of faucet you chose, you may have to cut three separate holes for each part. All three parts may also come on one mount.
Step 10
Install the tiling on top of the drywall. Mix the cement, then install the tiles on all visible surfaces. Make sure to leave a space for the hole(s) you cut in Step 9. Allow the tiles to set into place. Mix the grout and grout the entire surface. Allow the grout to dry, then apply a waterproof seal on top to keep out moisture and dirt.
Step 11
Affix the faucet to the holes you cut in Step 9. This step will be easier if you prepped the faucet lines correctly in Step 2, and kept them visible throughout the project. You'll need an Allen wrench to connect the hot and cold water lines along with the faucet head. You may choose to use plumber's tape for an extra layer of waterproofing.
Step 12
Reconnect the plumbing and check to make sure the system is running correctly.