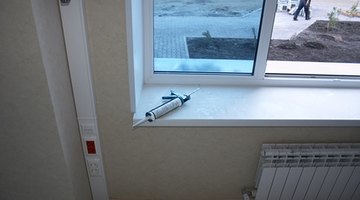
How to Trim Around Beams
As long as your wall beams have regular angles--as opposed to curves--installing base trim around beams can be a bit of work, but it is doable. The job requires a few specialized tools and some patience, particularly when preparing the trim pieces before installation. The best approach is to have extra trim material on hand, in case you make mistakes. Don't rush the job, and your beams will have a quality, finished look.

-
Use a measuring tape to determine the length of each wall section, moving up to the beam, around its sides, and back to the wall again. Write down each measurement after checking them at least twice.
-
Take an adjustable miter saw and cut sufficient wood trim pieces to match your measurements. Cut the pieces at a 45-degree angle, with the slope on the sides that face into a corner. Do the same for the sides of the pieces that cover a protruding corner, but cut the 45-degree angle in the opposite direction, sloping inward. Use a miter saw with different angle measurements if the beam corners are different than a standard 90-degree turn.
-
Place the cut pieces against the wall and fit them together around the beam before installing, to check the fit. Cut a new piece with the miter saw if the current piece does not fit correctly in the dry run.
-
Install a tube of adhesive for wood projects, such as Liquid Nails, into a tube spreader gun and squeeze the adhesive onto the back of the first trim piece. Place the trim piece on the wall and press it into place. Do the same as you work the remaining trim parts around the beam. Go back and drill a small hole in each piece for one or two finishing nails.
-
Place a finishing nail on the hold and hammer it into the wall. Use a nail punch to hammer the final blows without damaging the trim part.
-
Take the adhesive out of the spreader gun and replace it with a tube of white caulk. Seal up each part or gap in the trim pieces so the finished trim has no breaks. Make sure to seal the top of the trim as well where it joins with the wall and beam.
-
Let the caulk and adhesive dry. Paint the finished trim with a paintbrush and your choice of paint. Let the trim dry for a day.
References
Tips
- Trim can be installed on beams with curves. However, you'll either need to use pre-curved trim parts or special tools that hold the trim against the curve until it bends, plus a steamer to moisten the wood so it can be curved permanently.
Warnings
- Use goggles and gloves when working with a miter saw.
Writer Bio
Since 2009 Tom Lutzenberger has written for various websites, covering topics ranging from finance to automotive history. Lutzenberger works in public finance and policy and consults on a variety of analytical services. His education includes a Bachelor of Arts in English and political science from Saint Mary's College and a Master of Business Administration in finance and marketing from California State University, Sacramento.
Photo Credits
- esconson trimming image by Igor Zhorov from Fotolia.com
More Articles


