
Winding the Bobbin
-
Look for the indentation on the inner portion of the hand wheel. This is the large wheel on the right-hand side of the machine that spins when the sewing machine is running. In the center of this wheel is a smaller circle. Push inward on the indented portion of this smaller circle. This disengages the mechanism from the sewing action at the needle.
-
Place a spool of thread on the thread pin at the top rear of the machine. Place the spool cap firmly onto the spool to keep the thread from tangling as it feeds off the spool.
-
Grasp the loose end of the thread from the spool, and feed it over to the thread guide post, then wind it one time around the bobbin winder tension disc at the top front edge of the machine. Be sure the thread feeds from the right front side of the tension disc, around it to the left, and out back toward the right. At this point, the thread must pass across the top of the thread where it is fed into the tension disc.
-
Continue pulling the thread toward the right until it reaches the bobbin winding spindle. Feed the thread end through any of the small holes in the top of the bobbin, from the inside.
-
Put the bobbin down onto the winding spindle and push it to the right. Hold the end of the thread protruding from the bobbin, and depress the machine's speed controller. Winding will begin, and finish automatically once bobbin is full. If less than a full bobbin is needed, simply stop the machine when the desired amount of thread has been wound.
-
Cut the thread, push the bobbin back toward the left and remove from the winding spindle. Trim any excess thread still protruding from the top of the bobbin.
-
Return the machine to the sewing position by pressing the inner knob on the hand wheel on the opposite side from the indentation.
Inserting a Bobbin and Preparing if for Use
-
Raise the presser foot and turn the hand wheel forward (toward you) until the needle is as high as it will go. Open the slide plate and pull out the empty bobbin, if one is present.
-
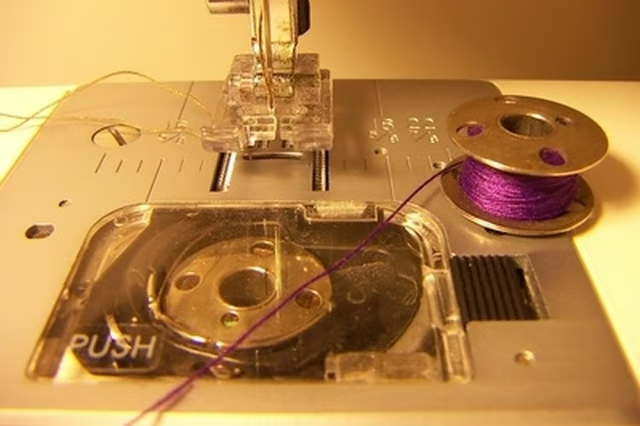
Pull about 4 inches (approximately 10 cm) of thread out from the windings on the new bobbin, and insert it into the bobbin case with the thread feeding off from the left side of the bobbin. Hold the bobbin firmly down in the case so it does not turn, and guide the thread you pulled out forward and down into the slot in the case, located on the left front side, and continue pulling it forward until it goes down into the notch at the front.
-
Pull several inches of thread diagonally across the bobbin toward the rear of the machine. Be sure to hold onto this thread, keeping it above and outside the bobbin case as you close the slide plate. Be sure the thread goes into the slot between the meeting edges of the slide plate and the needle plate.
-
Thread the machine for sewing. Carefully hold onto the needle thread as you turn the hand wheel toward you slowly. Do not use the speed controller for this operation. Turn the hand wheel until it goes down into the needle plate. Continue turning the hand wheel until the needle just reappears above the needle plate. Stop turning the wheel. Pull carefully upwards on the needle thread until the bobbin thread appears in a loop.
-
Open the loop in the bobbin thread with your fingers and pull until the loose end of the bobbin thread comes up above the needle plate. Pull the needle thread through the notch in the left side of the presser foot, and pull both thread ends toward the back of the machine.