


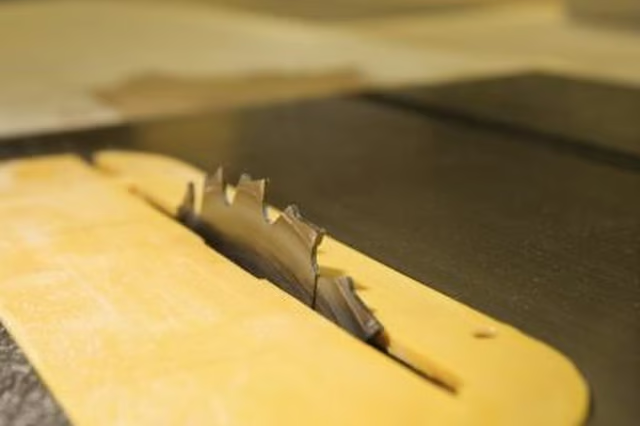
Beveled-Edge Wood Cap Using a Table Saw
To make a beveled edge in a square piece of wood, take a 2-by-8-inch board, though other sizes can be used depending on the size of the fence post and the design you desire to make. Cedar works great for outdoors, because it doesn’t need to be weather treated as do most other raw woods. Cut the lumber into the shape of a square. Clamp the square to a backer board, any scrap of wood will work, and slide it along a table saw set to the angle of preference, typically about 15 degrees, though steeper angles will create a pointier look for the bevel. It is helpful to clamp a tall scrap board to the table saw fence when guiding the square across the blade. Repeat for all four sides, then sand and stain or paint. Finally, fasten the cap to the fence post using wood adhesive.
Beveled-Edge Wood Cap Using a Power Saw
This is similar to making the beveled edge on the table saw, only you need to build a jig to hold the post cap square in place to ensure a consistent angle on each side. The easiest way to do this is to build a U-shape out of scrap wood and nails. Then clamp the post cap square to the inside of the U-shape, tilt the blade of your power saw to the angle desired and simply pass the saw across the board resting it on the top of the U-shape to keep the beveled edge consistent. Finish as with the table saw.
Copper Fence Post Caps
Copper is a great metal to use for topping off a fence post. Since it is metal it will protect the wood from weather damage. Use a scrap piece of fence post for the form. Find some soft tempered copper sheets, 24 gauge works well (.021 inches thick). Determine the shape you want this to take and modify the end of your scrap fence post to that shape. A triangular shape works well, as it allows the water to run off and it is easy to make on the fence post. Cut the copper to the proper shape and heat the copper until it is glowing, also called annealing, if desired. It is soft copper, so the annealing is not required. Use a soft mallet to bend the copper around the scrap fence post mold. Drawing the mallet towards yourself as you mold will produce the best results. Apply sealant to the top of the finished fence post cap to make it shiny, and just slide it onto the fence post when complete.